1
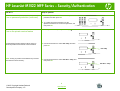
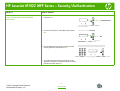
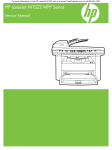
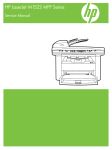
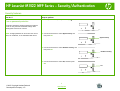
HP LaserJet M1522 MFP Series – Security/Authentication
Security features
How do I?
Steps to perform
1 On the product control panel, press Setup (
).
Turn on password protection
The product includes a password feature that restricts
access to many features and default settings while
allowing basic functions to continue.
NOTE: A single password can be set from the control
panel, HP ToolboxFX, or the embedded Web server.
2 Use the arrow buttons to select System setup, and
then press OK.
System setup
3 Use the arrow buttons to select Product security, and
then press OK.
Product security
4 Use the arrow buttons to select On, and then press
OK.
On
1
© 2007 Copyright Hewlett-Packard
Development Company, L.P.
www.hp.com
HP LaserJet M1522 MFP Series – Security/Authentication
How do I?
Steps to perform
Turn on password protection (continued)
5 Use the alphanumeric buttons to enter the product
password, and then press OK.
6 To confirm the product password, use the
alphanumeric buttons to re-enter the password, and
then press OK.
1 On the product control panel, press Setup (
).
Turn on the private receive feature
The password-protection feature must be turned on
before the private-receive feature can be activated.
2 Use the arrow buttons to select Fax setup, and then
press OK.
Fax setup
NOTE: Turning on private receive deletes any received
faxes stored in the fax memory.
3 Use the arrow buttons to select Fax Recv. setup, and
then press OK.
Fax Recv. setup
2
© 2007 Copyright Hewlett-Packard
Development Company, L.P.
www.hp.com
HP LaserJet M1522 MFP Series – Security/Authentication
How do I?
Turn on the private receive feature
(continued)
Steps to perform
4 Use the arrow buttons to select Private Receive, and
then press OK.
Private Receive
5 Use the arrow buttons to select On, and then press
OK.
On
6 Use the alphanumeric buttons to enter the product
security password, and then press OK.
7 To confirm the product security password, use the
alphanumeric buttons to re-enter the product security
password, and then press OK.
3
© 2007 Copyright Hewlett-Packard
Development Company, L.P.
www.hp.com