1
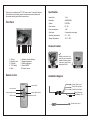
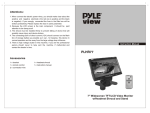
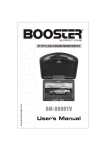
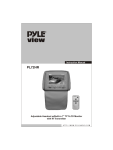
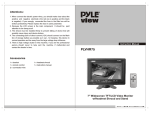
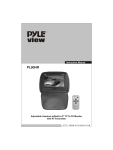
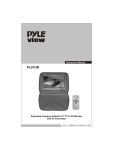
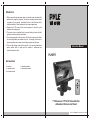
Attentions:
1. When connect the electric power wires, you should make clear about the
positive and negative electrode ( the red one is positive and the black
is negative). If you wrongly connected the fuse in the filter box will be
broken protectively. Please replace the fuse in same parameter.
2. Because the LCD screen is the main component It should be paid
attention to be damp-proof.
3. The device must be installed firmly to prevent falling of device that will
possibly cause injury and device-broken.
4. The connecting-point of direct current (12V) should connect on the Main
line of storage battery as possible as it can , for keeping this device in
normal operation and be away from the large voltage drop influence.
5. There is high voltage cluster in this machine, if you are the professional
person, should never to take part the machine if malfunction and
contact the dealer in time.
Instruction Manual
PLHR77
Accessories
1 x bracket
1 x remote control
2 x connection wire
PLHR 77
1 x headrest shroud
1 x instruction manual
7" Widescreen TFT/LCD Video Monitor
w/Headrest Shroud and Stand
HTTP://WWW.PYLEAUDIO.COM
Thank you for purchasing the TFT LCD color monitor. To enjoy the features
of this device and to ensure years of trouble-free operation, please read
this manual carefully and follow the instructions.
Specification
Screen Size:
7 inch
Front Panel
Resolution:
480xRGBx234
System:
NTSC/PAL
Power source:
DC 12V
Power consumption:
<9W
Video Input:
Composition video signal
Operating Temperature:
0°C ~ 60°C
Storage Temperature:
-20°C ~ 80°C
Headrest bracket
1 2 3
1. AV input
2. Earphone jack
3. Pilot lamp
4. V1/V2 switch
5. Mode
45 6 7 8
9
10
PL HR 77
6. Activation of menu indicator
7. Negative adjustment
8. Positive adjustment
9. Power ON/OFF
10. Remote sensor
Remote control
Suitable for any kinds of car
seats. Easy and conveniently
installation without damage
to the seats. Length can be
adjusted(as Picture).
Installation Diagram
(Yellow) Video 1 input
Power ON/OFF
V1/V2 conversion
Analog variable decrease
Switch for mode
Analog variable increase
Menu button
(Red) Audio right input
(White) Audio left input
(Black) Grounding
(Red) Battery +12V
(Yellow) Video 2 input