1
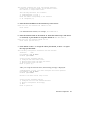
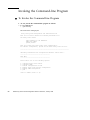
8. Make a note of the values displayed for host address and netmask.
9. Enter 3 (Exit).
The NewNetra console login is displayed:
NewNetra console login:
At this point, on a machine that is network-accessible to the Netra Proxy Cache
Server, you can use a browser to connect to the Netra Proxy Cache machine.
10. To ensure network connectivity, on the machine on which you will run the
browser for further configuration, enter:
non-netra% ping <netra host IP address>
If the host name and IP address of the Netra Proxy Cache machine is known to a
name service, you can ping the host by name, instead of numeric address. If you
receive a response indicating that the Netra Proxy Cache Server is reachable,
proceed. If you cannot ping the Netra Proxy Cache machine, you must have
entered the host IP address or netmask incorrectly. Check the values you noted in
Step 8 on page 14. If necessary, repeat the steps just described to configure your
network interface.
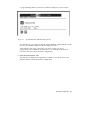
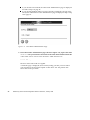
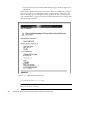
11. On the machine on which you are running the browser, point the browser at:
http://<netra host IP address>:81
The string <netra host IP address> is the address you specified in the ping
command, above.
Note - Depending on the capabilities of your router, you might need to use a
browser on a host on the same subnet as the Netra Proxy Cache Server.
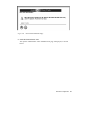
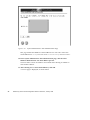
12. At this point, proceed to “Using a Browser to Complete Initial Configuration”
on page 17.
Diskette Method
If you used the TTY method, as described in “TTY Method” on page 12, skip to
“Using a Browser to Complete Initial Configuration” on page 17.
In this section it is assumed that you have the configuration diskette (labeled “Netra
Proxy Cache Utilities Diskette”) that is shipped with your Netra Proxy Cache Server.
14
Netra Proxy Cache Server Configuration Guide ♦ Revision A, January 1998