1
Holding and forwarding faxes
Holding faxes
This option lets you hold received faxes from printing until they are released. Held faxes can be released manually or
at a scheduled day or time.
1 Type the printer IP address into the address field of your Web browser.
If you do not know the IP address of the printer, you can:
• View the IP address on the printer control panel in the TCP/IP section under the Networks/Ports menu.
• Print a network setup page or the menu settings pages and locate the IP address in the TCP/IP section.
2 Click Settings > Fax Settings > Analog Fax Setup > Holding Faxes.
3 In the Print Faxes Password field, enter a password.
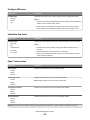
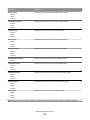
4 From the Held Fax Mode menu, select one of the following:
• Off
• Always On
• Manual
• Scheduled
5 If you selected Scheduled, then continue with the following steps:
a Click Fax Holding Schedule.
b From the Action menu, select Hold faxes.
c From the Time menu, select the time you want the held faxes released.
d From the Day(s) menu, select the day you want the held faxes released.
6 Click Add.
Forwarding a fax
This option lets you print and forward received faxes to a fax number, e-mail address, FTP site, or LDSS.
1 Type the printer IP address into the address field of your Web browser.
If you do not know the IP address of the printer, you can:
• View the IP address on the printer control panel in the TCP/IP section under the Networks/Ports menu.
• Print a network setup page or the menu settings pages and locate the IP address in the TCP/IP section.
2 Click Settings > Fax Settings.
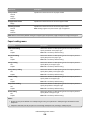
3 From the Fax Forwarding menu, select one of the following:
• Print
• Print and Forward
• Forward
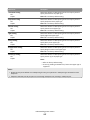
4 From the “Forward to” menu, select one of the following:
• Fax
• E-mail
Faxing
136