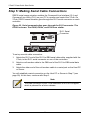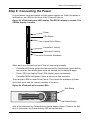
1
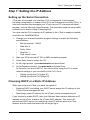
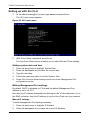
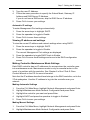
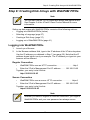
Step 7: Setting the IP Address
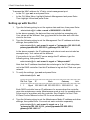
administrator@cli> net -a mod -t mgmt -m -c 2 -s
"primaryip=192.168.10.102, primaryipmask=255.255.255.0,
gateway=192.168.10.1"
In the above example, the IP addresses and subnet mask are included as
examples only. Your values will be different.
If you prefer to let your DHCP server assign the IP addresses, type the
following strings, then press Enter.
administrator@cli> net -a mod -t mgmt -m -c 1 -s "dhcp=enable"
administrator@cli> net -a mod -t mgmt -m -c 2 -s "dhcp=enable"
Note that the IP address described above belongs to the RAID controller, not
to the VTrak subsystem. Use this IP address to log into the controller over
your network.
5.
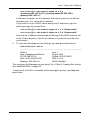
To verify the maintenance mode settings, type net -m and press Enter.
administrator@cli> net -m
––––––––––––––––––––––––––––––––––––––
CtrlId: 1
Port: 1
Type: Management Ethernet
IPType: IPv4
IP: 192.168.10.101
IPMask: 255.255.255.0
MAC: 00:01:55:AE:02:AE
DNS: 0.0.0.0
Gateway: 192.168.10.1
DHCP: Disabled
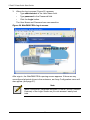
This completes the Management port setup. Go to “Step 8: Creating Disk Arrays
with WebPAM PROe” on page 35.
To see the full set of CLI commands, at the admin@cli> prompt, type help and
press Enter.
31