1
Quick guide
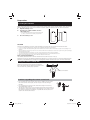
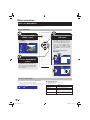
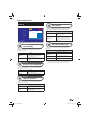
Before turning on the power
n
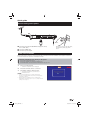
RF IN
USB
12V DC - 2A
RF OUT
ETHERNET
SPDIF
HDMI
VCR
-
TV
o
+
p
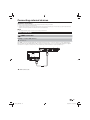
n Connect the antenna (standard DIN45325 plug (IEC 169-2)
Place the TV close to the AC outlet,
and keep the power plug within
reach.
75 q coaxial cable)
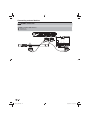
o Connect the HDMI cable
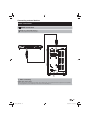
p Connect the power adapter
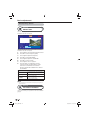
Initial auto installation
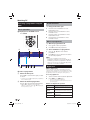
When the Receiver is powered on for the first time after purchase, the first time installation screen appears. Follow the
on-screen instructions to search for all available channels.
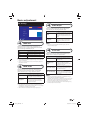
Confirm the following before turning on the power
E Is the antenna cable connected?
E Is the power adapter connected and plugged in?
E Is the HDMI cable connected between the Receiver and your TV?
1
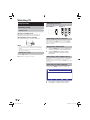
Press a on the Receiver.
2
3
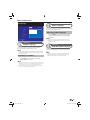
Ensure the antenna cable is connected.
• The first time installation screen is displayed.
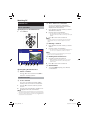
First Time Installation
Press OK to start the channel search.
• The Receiver will search for, sort and store all
receivable channels.
Please ensure that an aerial is connected
Then press
OK
to scan for services
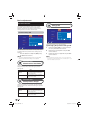
NOTE
• The first time installation process will be aborted if the
Receiver is left unattended for more than 30 minutes before
searching for channels.
• After the first time installation has been completed, the
default PIN is automatically set to ‘0000’. To change the PIN
setting, refer to Page 20.
9
TU-T2_GB.indd 9
01/06/2010 16:02:54