1
PJ Camera Software Overview and Basic Operations
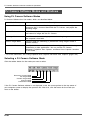
Using the PJ Camera Stand Like an OHP Projector
(Document Camera Mode)
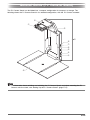
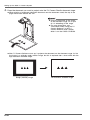
Use the Document Camera Mode when you want to project documents placed on the PJ Camera
Stand, just like an OHP projector. There are two different methods you can use for projection in the
Document Camera Mode.
Auto
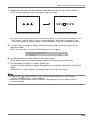
With auto recording, projection starts automatically when you place a document
onto the document stand. When you place a document onto the PJ Camera
Stand, PJ Camera Software automatically detects when it stops moving, records its
image, and then projects it.
Manual
With manual recording, you need to manually trigger the operation that records and
projects the image of the document or object on the PJ Camera Stand.
The projected image does not change until you release the shutter button.
z
z
Note that the initial default setting for the Document Camera Mode is auto projection.
For information about how to use auto projection, see “Testing the Multi PJ Camera System”
(page E-23).
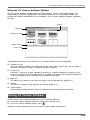
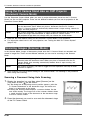
Scanning Images (Scanner Mode)
In the Scanner Mode, images of documents placed onto the PJ Camera Stand are recorded and
stored in image files. There are two different methods you can use for scanning in the Scanner
Mode.
Auto
With auto scanning, image recording starts automatically when you place a
document onto the document stand. When you place a document onto the PJ
Camera Stand, auto scanning automatically detects when it stops moving, and
records its image.
Manual
With manual scanning, you need to trigger the scan operation manually for each
document or object.
z
Auto scanning is the initial default setting for the Scanner Mode. The following is the procedure
when using auto scanning.
Scanning a Document Using Auto Scanning
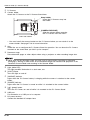
1.
Display the operation bar, and then select [Scanner] on the
[File] menu or click
on the toolbar.
z If the dialog box for adjusting camera position appears, point the
PJ Camera downwards at the document stage, and make sure
there is no document on the stage.
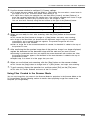
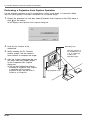
z Entering the Scanner Mode displays a scanner window, like the
one shown nearby. The image area of the scanner window shows
a rough (monitor) image of the document on the document stage
of the PJ Camera Stand.
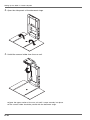
2.
Place the document you want to scan onto the document stage
of the PJ Camera Stand.
E-30