1
III. HARDWARE SETUP
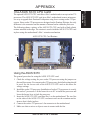
Installing the Processor
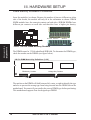
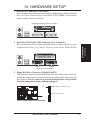
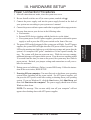
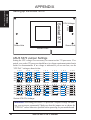
1. Unlock the URM’s Folding Support Arms:
The folding support arms of the URM are
locked when shipped.
Locked Folding
Support Arms
To unlock the support arms, simply flip them
up to an upright position.
The URM is now ready for the installation
of your processor.
Unlocked Folding
Support Arms
III. H/W SETUP
CPU
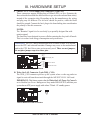
2. Attach the Heatsink
NOTE: Follow carefully the heatsink attachment instructions included with your
heatsink or processor. The following steps are provided only as a general guide
and may not reflect those for your heatsink.
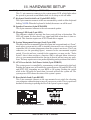
SECC with Pentium® II
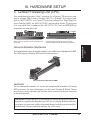
Place the SECC face down on a flat surface
Push each end of the clamps until they lock
and lay the heat sink flush on the back (metal Lock
Lock
side) of the SECC. Check the orientation of
the heatsink against the illustration below.
The thicker fin must be orientated toward the
bottom. The top clamp is wider than the bottom clamp so only this orientation
will fit. With a screw driver, push the clamps one at a time into the SECC. Be
sure that the heatsink is firmly pressed against the SECC.
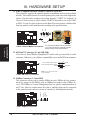
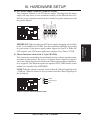
SECC2 with Pentium® II/III or SEPP with Celeron™
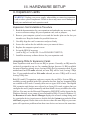
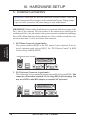
Insert the heatsink clip through the holes at
the SECC2/SEPP’s back, making sure that the
bottom of the clip plate sits against the
processors’s back. Remove the tab from the
SECC2/SEPP Heatsink Clip Legs
thermal grease, which is located on the bottom of the heatsink) and place the heatsink over the processor. A slight rocking
motion may be necessary to place the heatsink on the SECC2/SEPP, with one
pair of the heatsink clip legs going first through the corresponding heatsink holes,
and then the other pair. (NOTE: The heatsink and SECC2/SEPP holes are slightly
offset to ensure good locking grip between the two.)
20
ASUS P2B-F User’s Manual