1
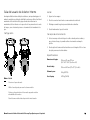
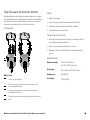
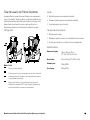
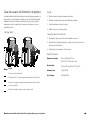
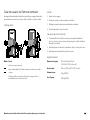
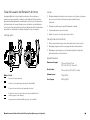
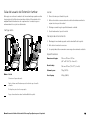
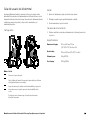
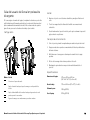
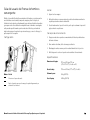
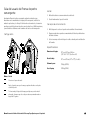
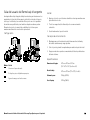
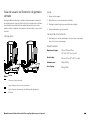
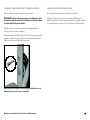
Getting Started Assembly of each piece of Discovery Selectorized equipment takes about 30 minutes. If this is your first time assembling this equipment, allow more time. Installation Requirements WARNING You will need assistance to assemble this unit. DO Required Tools NOT attempt assembly by yourself. Follow these installation requirements when assembling the unit: Assemble the unit near the place where you plan to use it. Locate the equipment at least 40 inches (1 meter) away from walls or furniture on either side of the equipment, and 40 inches (1 meter) away from objects behind the equipment. Torque wrench that can be fitted with the following hex bits: ⁷₃₂-inch hex bit ⁵₁₆-inch hex bit ³₁₆-inch hex bit ¹₂-inch hex bit ¹₄-inch hex bit ⁵₃₂-inch hex bit Socket wrench that can be fitted with the following sockets: Set up the unit on a solid, flat surface, so that it remains level and stable. A level unit has fewer malfunctions. ⁹₁₆-inch socket Open the box and assemble the components in the sequence presented in this guide. 1-inch socket ³₄-inch socket Insert, align, and thread all fasteners with your fingers. This helps prevent cross-threading. Do not wrench tighten fasteners until instructed to do so. Important: Before you wrench tighten a fastener, check that its head is flush with the surface of the product. If not, cross-threading may have occurred. Do not attempt to rework the assembly as more damage to the equipment will occur. Instead, contact Customer Support as described in Obtaining Service. ³₄-inch open-end wrench ⁵₃₂-inch hex wrench Torque screwdriver fitted with a #2 Phillips bit If you plan to move the unit, get help and use a hand truck. Lat Pulldown Assembly Guide: Getting Started 2