1
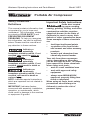
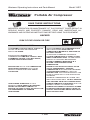
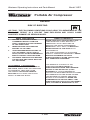
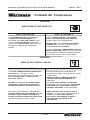
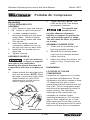
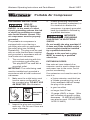
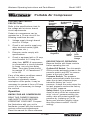
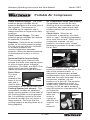
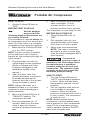
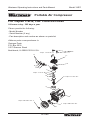
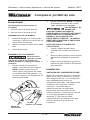
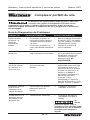
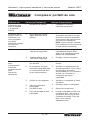
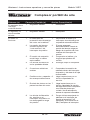
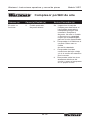
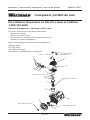
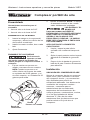
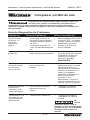
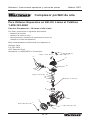
Westward Operating Instructions and Parts Manual Model 3JR71 Portable Air Compressor Service and Adjustments (continued) Before servicing: Unplug or disconnect electrical supply to the air compressor. Bleed tank of pressure Allow the air compressor to cool. TO REPLACE OR CLEAN CHECK VALVE 1. Release all air pressure from air tank. See To Drain Tank in the Maintenance section. 2. Unplug outfit. 3. Remove shrouds. 4. Using an adjustable wrench loosen outlet tube nut at air tank and pump. Carefully move outlet tube away from check valve. Outlet Tube Pressure Relief Tube In open position nothing is visible. In closed position disc is visible. 7. 8. 9. Nut Check Valve 10. 11. 12. 13. Nut 5. 6. Using an adjustable wrench loosen pressure relief tube nut at air tank and pressure switch. Carefully move pressure relief tube away from check valve. Unscrew the check valve (turn counterclockwise) using a 7/8 open end wrench. Note the orientation for reassembly. Screwdriver Using a screwdriver, carefully push the valve disc up and down. NOTE: The valve disc should move freely up and down on a spring which holds the valve disc in the closed position, if not the check valve needs to be cleaned or replaced. Clean or replace the check valve. A solvent, such as paint or varnish remover can be used to clean the check valve. Apply sealant to the check valve threads. Reinstall the check valve (turn clockwise). Replace the pressure release tube. Tighten nuts. Replace the outlet tube and tighten nuts. Replace shrouds. Perform the Break-in Procedure. See Break-in Procedure in the Operation section. TO REPLACE REGULATOR 1. Release all air pressure from air tank. See To Drain Tank in the Maintenance section. 2. Unplug outfit. 3. Using an adjustable wrench remove the outlet pressure gauge and quick connect from the regulator. 16- ENG