1
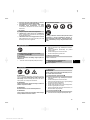
4.
5.
6.
7.
8.
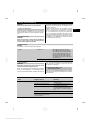
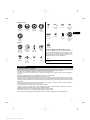
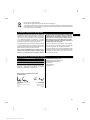
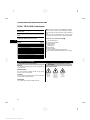
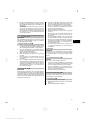
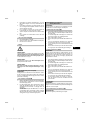
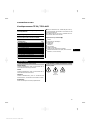
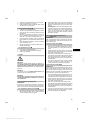
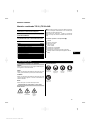
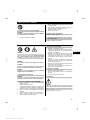
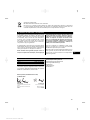
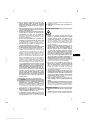
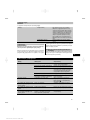
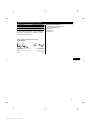
Position the power tool and drill bit at the point
where the hole is to be drilled.
Press the control switch slowly (drill at a low speed
until the drill bit centers itself in the hole).
Press the control switch fully to continue drilling with
full power.
Do not apply excessive pressure. This will not increase the power tool’s hammering performance.
Lower pressure extends the life of the insert tool.
Reduce drilling speed shortly before breaking
through in order to avoid damage to the surface at
the rear side.
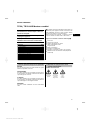
7.2.4 Chiseling
NOTE
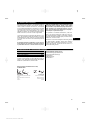
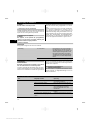
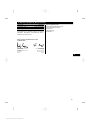
The chisel can be adjusted to 12 different positions
(in 30° increments). This ensures that flat chisels and
shaped chisels can always be set to the optimum working
position.
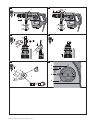
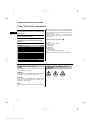
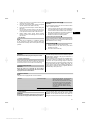
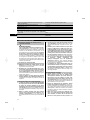
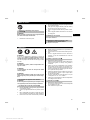
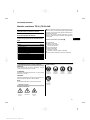
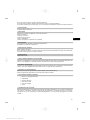
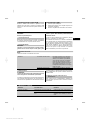
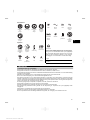
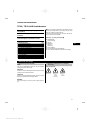
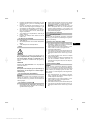
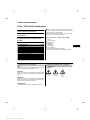
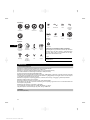
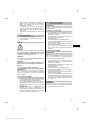
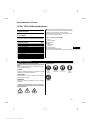
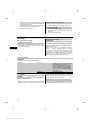
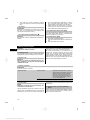
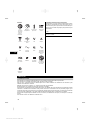
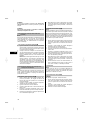
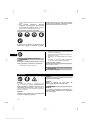
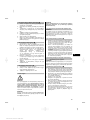
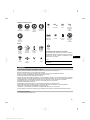
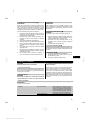
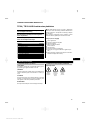
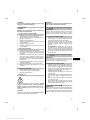
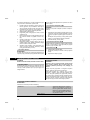
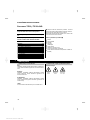
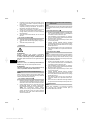
7.2.4.1 Adjusting the chisel (C) 7
CAUTION
Do not operate the power tool when the selector switch
is set to “Chisel adjustment”.
1.
2.
3.
Turn the function selector switch until it engages in
the “Chisel adjustment” position. Do not operate the
function selector switch while the motor is running.
Bring the side handle into the desired position and
check that it is fitted correctly and secured.
Rotate the chisel to the desired position.
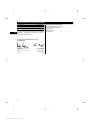
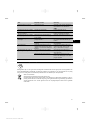
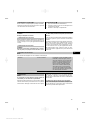
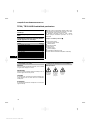
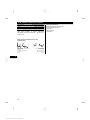
7.2.4.2 Locking the chisel (D) 7
Turn the function selector switch until it engages in the
“Chiseling” position. Do not operate the function selector
switch while the motor is running.
7.2.4.3 Chiseling(D) 7
1.
2.
3.
Plug the supply cord into the power outlet.
Position the tip of the chisel at the point where
chiseling is to begin.
Press the control switch fully.
8 Care and maintenance
CAUTION
Disconnect the mains plug from the power outlet.
8.1 Care of insert tools
Clean off dirt and dust deposits adhering to the insert
tools and protect them from corrosion by wiping the
insert tools from time to time with an oil-soaked rag.
8.2 Care of the power tool
CAUTION
Keep the power tool, especially its grip surfaces,
clean and free from oil and grease. Do not use cleaning agents which contain silicone.
The outer casing of the power tool is made from impactresistant plastic. Sections of the grip are made from a
synthetic rubber material.
Never operate the power tool when the ventilation slots
are blocked. Clean the ventilation slots carefully using
a dry brush. Do not permit foreign objects to enter the
interior of the power tool. Clean the outside of the power
tool at regular intervals with a slightly damp cloth. Do
not use a spray, steam pressure cleaning equipment or
running water for cleaning. This may negatively affect the
electrical safety of the power tool.
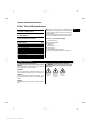
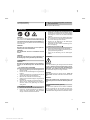
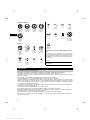
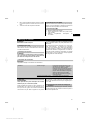
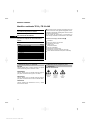
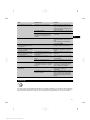
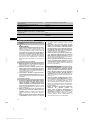
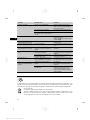
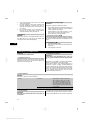
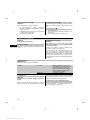
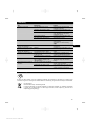
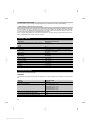
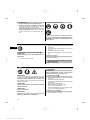
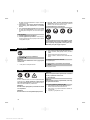
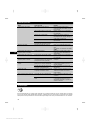
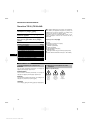
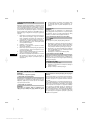
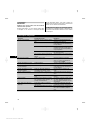
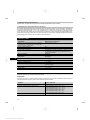
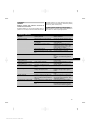
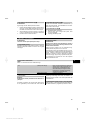
8.3 Service indicator
NOTE
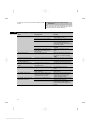
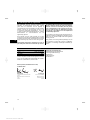
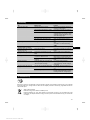
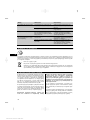
The power tool is equipped with a service indicator.
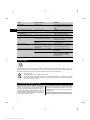
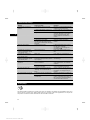
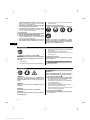
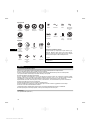
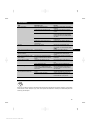
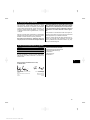
Indicator
Constant red light
Blinking red light
8.4 Maintenance
WARNING
Repairs to the electrical section of the power tool may
be carried out only by trained electrical specialists.
End of service interval - servicing is due.
After the lamp lights for the first time,
the power tool may continue to be used
for several hours before the automatic
cut-out is activated. To ensure that the
power tool is always ready for use, it
should be returned to Hilti for servicing
in good time.
See section “Troubleshooting”.
Check all external parts of the power tool for damage
at regular intervals and check that all controls operate
faultlessly. Do not operate the power tool if parts are
damaged or when the controls do not function faultlessly.
23
Printed: 08.07.2013 | Doc-Nr: PUB / 5070996 / 000 / 02
en