Transcript
INSTALLATION INSTRUCTIONS
Model # 8845/8755
READ AND SAVE THESE INSTRUCTIONS
W ARNING! SHUT POWER OFF AT FUSE OR CIRCUIT BREAKER.
1. Shut off power at the circuit breaker and remove old
fixture including mounting hardware.
2. Carefully unpack your new fixture and lay out all the
parts i n a clear area. Take care not to misplace any
small parts necessary for installation.
3. Pull black, white and ground wires out of post (J).
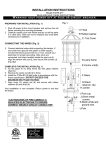
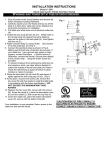
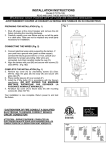
4. Connect electrical wires while supporting the lantern. If
your post has a ground wire (green or bare copper),
connect the fixture ground wire to it. If not, consult your
electrician for proper grounding. After wires are
connected, tuck them carefully inside the post cup (H).
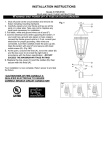
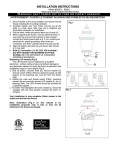
Align the lantern with post (J) and secure with sheet
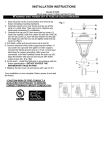
metal screws (I). (Fig.1&2)
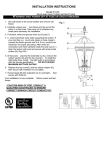
5. At this point, unscrew the screws (G) on the cage (F),
move the top cover (E) to install the light bulb in
accordance with the fixture specification –DO NOT
EXCEED THE MAXIMUM WATTAGE RATING!
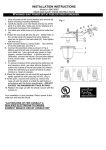
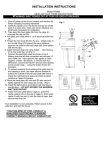
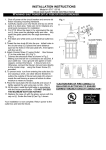
Fig. 1
6. Place the finial (A) with the rubber (B) into the top
cover (E), then secure with the lock washer (C) and
the hex nut (D) inside the top cover (E).
7. Replace the top cover (E) and secure with the
screws (G).
Your installation is now complete. Return power to and test
the fixture.
Fig.2
“CAUTION-RISK OF FIRE CONSULT A
QUALIFIED ELECTRICIAN TO ENSURE
CORRECT BRANCH CIRCUIT CONDUCTOR”
HOUSE
WIRES
BLACK
(HOT)
R
FIXTURE
WIRES
GREEN OR
BARE
COPPER
(GROUND)
FIXTURE
WIRES
WHITE
FIXTURE
WIRES
BLACK
HOUSE
WIRES
WHITE
(NEUTRAL)
HOUSE
WIRES
GREEN OR
BARE COPPER(GROUND)