1
PCV-RZ Series Hard Disk Drive
Replacement Instructions
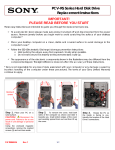
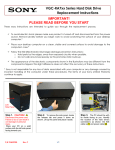
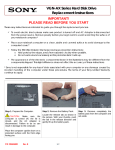
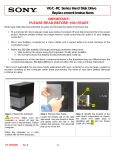
IMPORTANT!
PLEASE READ BEFORE YOU START
These easy instructions are intended to guide you through the replacement process.
9 To avoid electric shock please make sure product is turned off and disconnected from the power
source. Remove jewelry before you begin work to avoid scratching the surface of your desktop
computer.*
9 Place your desktop computer on a clean, stable and covered surface to avoid damage to the
computer's case.*
9 Follow the ESD (Electrostatic Discharge) damage prevention instructions:
o Hold parts by the edges, away from exposed circuitry when possible.
o Do not walk around excessively as this promotes static build-up.
9 The appearance of the electronic components shown in the illustrations may be different from the
components shipped. This slight difference does not affect the accuracy of these instructions.
* Sony is not responsible for any loss of data associated with your computer or any damage caused by
incorrect handling of the computer under these procedures. The terms of your Sony Limited Warranty
continue to apply.
Tabs
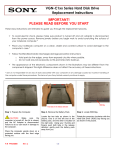
Step 1. Place your PC on a
solid surface.
CAUTION!
Disconnect the
power cord, failure to do so can
result in unit damage or
personal injury.
Locate the release tabs on the
right as shown.
P/N T99860132
Rev. B
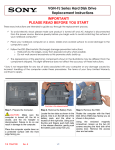
Step 2. Press and hold the 2 tabs in the rear,
as shown. Slide the panel in the direction of the
arrows and pull out to remove the side panel,
set panel aside. The inside of the unit will be
exposed.
1/2
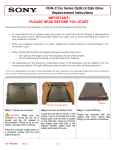
Step 3. Rotate the PC so the
inside is facing to you. Identify
the location of the Hard Drive’s
connections.
PCV-RZ Series Hard Disk Drive
Replacement Instructions
[A]
1
[B]
2
Step 4. Proceed to disconnect the IDE Cable [1] and Power
Cable [2] from the Hard Drive.
IMPORTANT! Some force may be required to initiate the removal
of the cables. Take caution not to damage the cables.
Pull with equal force on both sides of each cable to remove them
as shown above.
Step 5.
[A] Release the HDD bracket by pulling on the latch
as shown on the picture. Some force may be required to unlock
the latch. [B] Slide the complete bracket assembly out of the
unit.
[A] Ensure that all 4 holes ( 2 on
[B]
each side) are in alignment
Step 6. Using the enclosed magnetic screwdriver, remove the
four (4) screws that secure the Drive into the bracket.
IMPORTANT! Before proceeding, take note of original position of
the Drive inside the bracket. Slide out the original drive.
Step 7. [A] Slide New Hard drive inside bracket with all
holes in alignment. [B] Reinstall the four (4) screws previously
removed, securing new drive into the bracket.
1
2
Step 8. Reinstall the rail being careful to align the rails with the
guides. Firmly press the latch to lock the bracket in place.
P/N T99860132
Rev. B
Step 9.
Reconnect the IDE Cable [1] and Power Cable [2]
into their original position. Align the Side Panel and slide it in
the direction of the arrow as shown until the Tabs are locked in
place.
2/2