1
X10DDW-i/iN Motherboard User’s Manual
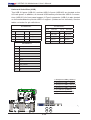
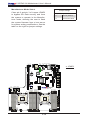
Removing the Heatsink
Warning: We do not recommend that the CPU or the heatsink be removed. However,
if you do need to uninstall the heatsink, please follow the instructions below to uninstall
the heatsink to prevent damage done to the CPU or the CPU socket.
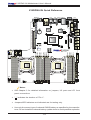
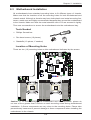
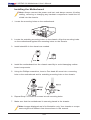
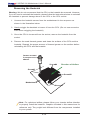
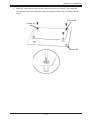
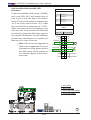
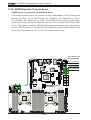
1. Unscrew the heatsink screws from the motherboard in the sequence as
shown in the illustration below.
2. Gently wriggle the heatsink to loosen it from the CPU. (Do not use excessive
force when wriggling the heatsink!)
3. Once the CPU is loosened from the socket, remove the heatsink from the
socket.
4. Remove the used thermal grease and clean the surface of the CPU and the
heatsink, Reapply the proper amount of thermal grease on the surface before
reinstalling the CPU and the heatsink.
Loosen screws
in sequence as
shown.
Screw#4
Direction of Airflow
Screw#1
Screw#2
Motherboard
Screw#3
Note: For optimized airflow, please follow your chassis airflow direction
to properly install the heatsink. Graphics included in this manual are for
reference only. They might look different from the components installed
in your system.
2-12