1
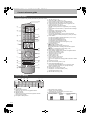
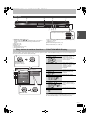
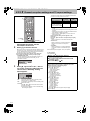
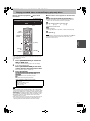
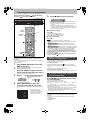
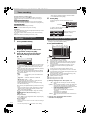
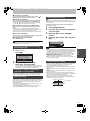
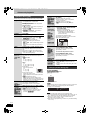
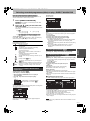
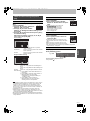
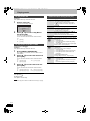
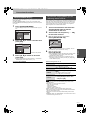
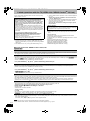
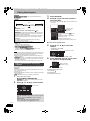
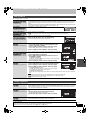
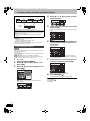
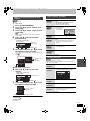
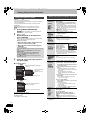
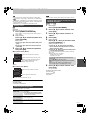
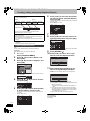
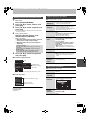
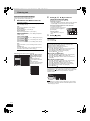
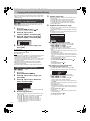
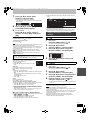
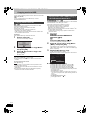
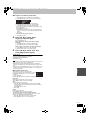
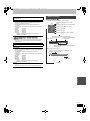
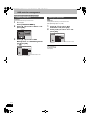
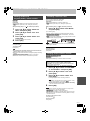
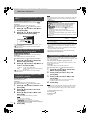
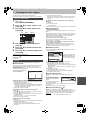
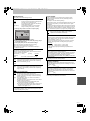
DMREX773EC-VQT2J39_eng.book 64 ページ 2010年1月14日 木曜日 午後1時31分 Changing the unit’s settings AV2 Settings Set to match the connected equipment. ≥Press [OK] to show the following settings. AV2 Input Set to “S Video” when receiving or recording S Video output from external equipment. [S Video] [Video] Clock This unit usually obtains time and date information from digital broadcasts and automatically corrects the time several times a day. However, if the time is not set correctly, use the settings listed in the method below. 1 Press [3, 4] to select “Off” of “Automatic” and press [OK]. Time offset > below Ext Link Clock This setting cannot be made when the “TV System” is set to “NTSC” (> 63). [Ext Link 1] When a digital satellite receiver which transmits a special control signal recordings via the 21-pin Scart cable is connected. Start and stop timings of recording are controlled by the control signal. When external equipment with a timer function is [Ext Link 2] connected. When it turns on, recording starts. When it turns off, recording stops. Others (All factory default settings are indicated with underlined text.) Remote Control Change the remote control code on the main unit and the remote control (the two must match) if you place other Panasonic products close together. [DVD 2] [DVD 3] [DVD 1] Use “DVD 1”, the factory set code, under normal circumstances. 1 Press [3, 4] to select the code (“DVD 1”, “DVD 2” or “DVD 3”) and press [OK]. Setup Tuning Disc Picture Remote Control Press “” and “OK” together for more than 5 seconds on the remote control. To change the code on the remote control 2 While pressing [OK], press and hold the numbered button ([1], [2] or [3]) for more than 5 seconds. 3 Press [OK]. ∫ When the following indicator appears on the unit’s display The unit’s remote control code Change the code on the remote control to match the main unit’s (> step 2). Note Executing “Shipping Condition” in the Setup menu returns the main unit code to “DVD 1”. Change the remote control code to 1 (> step 2). VQT2J39 64 e.g., This screen appears while receiving a digital broadcast. Automatic Time Off 0 : 00 : 00 Time offset Auto Date 1 . 1 . 2010 Number 0 9 CHANGE SELECT Please set clock manually. OK: store RETURN: leave OK RETURN 2 Press [2, 1] to select the item you want to change. The items change as follows: Hour!#Minute!#Second!#Day!#Month!#Year ^-----------------------------------------------------------------------------------------J 3 Press [3, 4] to change the setting. You can also use the numbered buttons for setting. 4 Press [OK] when you have finished the settings. The clock starts. Note If a TV station transmits a time setting signal, and when “Automatic” in the Clock setting menu is set to “On”, the automatic time correction function checks the time and if necessary it is adjusted several times every day. ∫ To change the time offset When the time is not correct, set “Time offset” (from –2h to +2h). 1 Press [3, 4] to select “On” of “Automatic” and press [OK] in step 1. Auto clock setting starts. This takes a few minutes. “Automatic clock setting completed.” screen is displayed. 2 Press [1]. 3 Press [3, 4] to select the correct time offset and press [OK]. 4 Press [RETURN ].