1
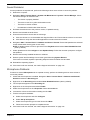
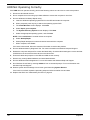
External Module Disassembly Process
IMPORTANT: The outside housing and color may vary from the mass produced model.
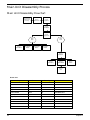
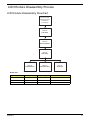
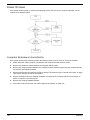
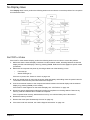
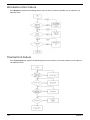
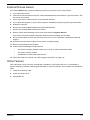
External Modules Disassembly Flowchart
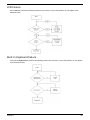
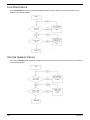
The flowchart below gives you a graphic representation of the external module disassembly sequence and
instructs you on the components that need to be removed during servicing. For example, if you want to remove
the keyboard, you must first remove the switch board.
Turn off system
and peripherals
power
Disconnect power
and signal cables
from system
Remove
Battery
Remove
Dummy Card
Remove
Lower Covers
Remove
ODD
Remove
DIMMs
Remove
WLAN
Remove
HDD
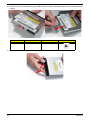
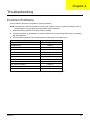
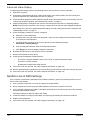
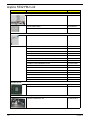
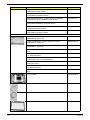
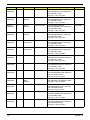
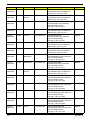
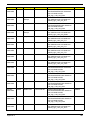
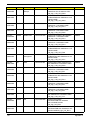
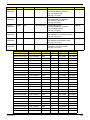
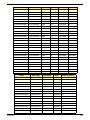
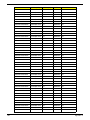
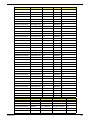
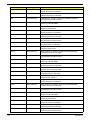
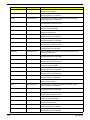
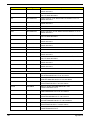
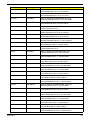
Screw List
Step
Screw
Quantity
Part No.
Lower Covers
M2.5*8
3
86.N2802.003
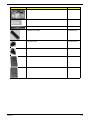
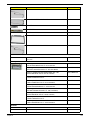
ODD Module
M2.5*8
1
86.N2802.003
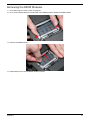
WLAN Module
M2*3
2
86.N2802.004
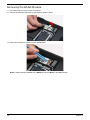
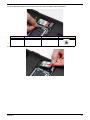
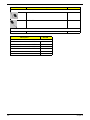
HDD Carrier
M3*3
4
86.N2802.005
Chapter 3
41