1
T Series.book Page 31 Wednesday, April 25, 2007 11:29 AM
G e t t i n g t o K n o w Yo u r Ta b l e t P C
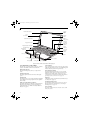
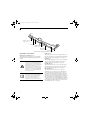
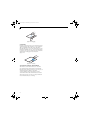
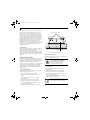
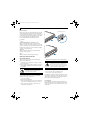
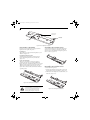
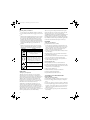
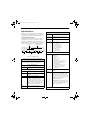
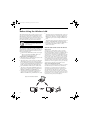
1. Attach the end of the pen tether with the smaller
loop to your pen. To do so, push the end of the
tether through the hole in the pen, then thread the
opposite end of the tether through the loop. (See
Figure 2-26.)
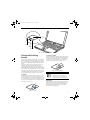
Gap
Pen tether
attachment
point
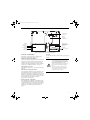
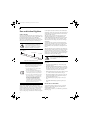
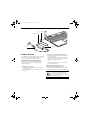
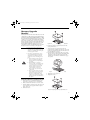
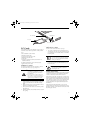
Figure 2-27. Tip Removal Tool
Larger loop
Smaller loop
To replace the tip, retrieve one of the new tips that
accompanied your pen. Insert the flat end of the tip into
the barrel and push it in firmly until it is seated.
If you need more tips, they can be ordered from the
Fujitsu Website at: us.fujitsu.com/computers.
Figure 2-26. Installing a Pen Tether
2. Attach the end of the pen tether with the larger loop
to the attachment point on your tablet. To do so,
insert the end of the pen tether through the attachment point, then feed the pen through the large
loop in the tether.
CALIBRATING THE PEN
In order to ensure accurate tracking between the pen
and cursor, you must run the Touch Screen Calibration
Utility before you use the active digitizer for the first
time, or after you change the display resolution.
USING THE ACTIVE DIGITIZER
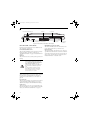
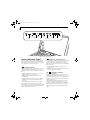
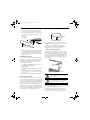
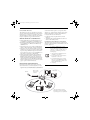
The integrated active digitizer allows you to use the
included pen as a pointing device. You can use the pen
to click, double-click, drag items and icons, or to draw
like a pen or pencil in applications that support this
behavior, such as drawing or painting programs. See the
documentation that came with your application for
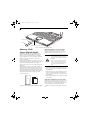
details. (Figure 2-28)
To run the calibration utility:
1. Go to Start -> Control Panel and double-click on
the Tablet and Pen Settings icon.
2. Click Calibrate.
3. Adjust the display of your Tablet PC to a comfortable angle.
4. Using the pen, firmly touch the screen directly on
the (+) symbol; the (+) symbol will move to the
next location.
5. Repeat step 4 in the four corners, then click OK.
REPLACING THE PEN TIP
With use, the pen tip may become worn or may pick up
foreign particles that can scratch the screen. A damaged
or worn tip may not move freely, causing unpredictable
results when using the pen. If your pen exhibits these
problems, you should replace the pen tip. To do so, use
the pen tip removal tool included with your pen.
To remove the tip, position the tip in the gap between
the two ends of the tool (Figure 2-27). Pinch the tool
together so the tip is firmly clasped, then pull it from the
barrel. If the tip is worn or damaged, discard it.
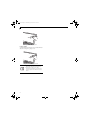
Figure 2-28. Using the pen with the screen
To avoid potential scratching and damage,
never use anything but the included pen
with the display.
To purchase additional or replacement
pens, visit the Fujitsu accessories Website
at: http://us.fujitsu.com/computers.
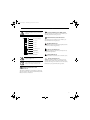
Clicking
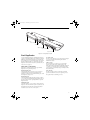
To left-click, touch the object you wish to select and then
lift the pen tip immediately. (Figure 2-29)
To right-click, press the front button on the barrel
switch or touch the pen to the screen for a couple of
seconds until the right mouse icon appears at the tip.
31