1
GroupServer Documentation, Release 14.06
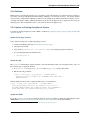
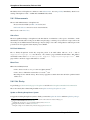
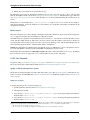
1.5.1 CentOS and RHEL
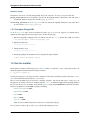
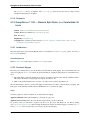
The process to install GroupServer on CentOS or RedHat Enterprise Linux is manual. The basic idea is as follows,
but it lacks testing.
Note Commands that have to be run as root are shown on lines that begin with a #. Commands that
must be run as a normal user are shown on lines that begin with a $.
1. Install the requirements.
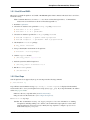
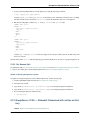
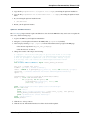
2. Create the two database users specified in config.cfg, using createuser:
# createuser -D -S -R -l gsadmin
# createuser -D -S -R -l gszodbadmin
3. Create the two databases specified in config.cfg using createdb:
# createdb -Ttemplate0 -O gsadmin -EUTF-8 groupserver
# createdb -Ttemplate0 -O gszodbadmin -EUTF-8 groupserverzodb
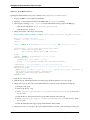
4. Get the Python virtualenv package:
# easy_install virtualenv
5. Set up a virtual Python environment for GroupServer:
$ virtualenv --no-site-packages .
6. Grab the argparse module:
$ ./bin/easy_install argparse==1.1
7. Fetch the system that builds GroupServer:
$ ./bin/easy_install zc.buildout==1.5.2
8. Run the buildout process:
$ ./bin/buildout -N
1.5.2 Start Zope
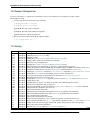
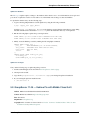
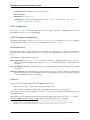
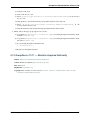
Your GroupServer site is supported by Zope. To start Zope run the following command:
$ ./bin/instance fg
Zope will have started when the message Zope Ready to handle requests is displayed in the terminal.
You should be able to view your GroupServer site at http://{host}:{zope_port}. If you kept the defaults, the address
will be <http://gstest:8080>.
• The host is the one you picked earlier (see Pick a Host Name).
• The port is the one that site listens to (see Configure GroupServer).
Use Control-c to stop Zope.
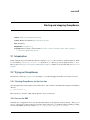
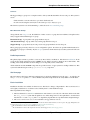
See also The documentation Starting and stopping GroupServer has more information on running
GroupServer, including running it as a daemon. We document the setup required to receive email
with GroupServer in Configuring Postifx. Finally the steps required to configure a proxy is documented in Configuring a web proxy.
1.5. Run the installer
5