1
20 Control Panel Display Menu
HD-SDI camera, HyperDeck will start recording without also having to press the record button on
your HyperDeck disk recorder.
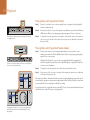
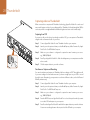
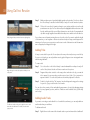
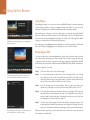
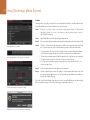
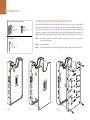
To set up start/stop recording for supported cameras:
Step 1. You will need a camera that can trigger the record function of HyperDeck via HD-SDI.
Cameras which support trigger recording via HD-SDI may include menu options such as
'trigger rec', HD-SDI remote I/F' or 'SDI remote start/stop trigger'.
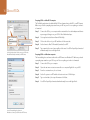
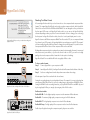
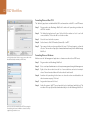
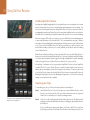
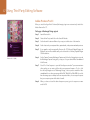
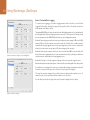
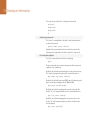
Use the HyperDeck Utility to enable Start/Stop Recording.
Codec
INPUT
REM
Record
Trigger
Step 2.
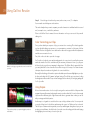
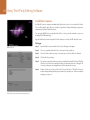
In HyperDeck Utility, set trigger recording to 'when SDI start/stop is detected'.
Step 3.
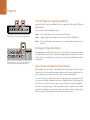
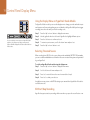
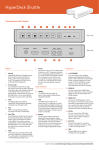
If using HyperDeck Studio models, press the 'rem' button after setting 'SDI start/stop
recording' in HyperDeck Utility. The 'rem' button must be illuminated on the unit to allow
trigger recording.
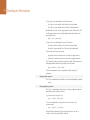
Record Trigger
None
SDI Start/Stop
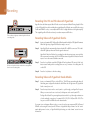
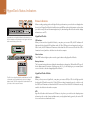
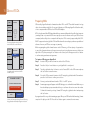
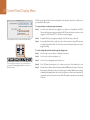
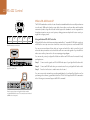
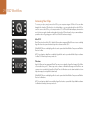
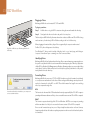
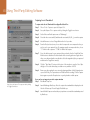
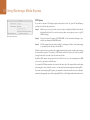
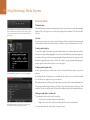
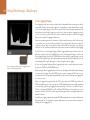
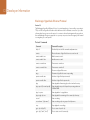
To set this on HyperDeck Studio models using the display menu:
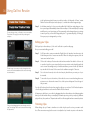
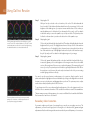
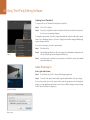
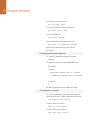
Step 1. Press the 'disp' or 'menu' button to display the main menu.
Timecode Run
JOG
Codec
DISP
INPUT
REM
Record
Trigger
Record Trigger
SET
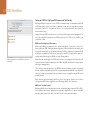
Step 2.
Scroll to the 'record' menu and press 'set'.
Step 3.
Scroll to the 'record trigger' menu and press 'set'.
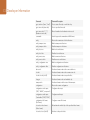
Step 4.
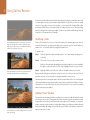
Select 'SDI start/stop' and press 'set' to confirm your selection. Press 'disp/menu' to exit.
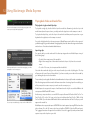
Step 5.
Press the 'remote' button, which is the button marked as REM on the front panel. The remote
button must be illuminated on the unit to allow trigger recording. When the remote button
is enabled and illuminated, then the deck will accept remote control from the start/stop SDI
command as well as other sources such as the RS-422 serial port and the timecode running
if selected.
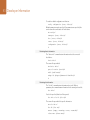
None
SDI Start/Stop
Timecode Run
JOG
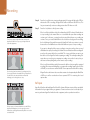
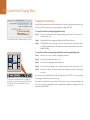
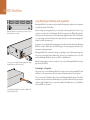
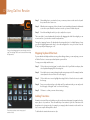
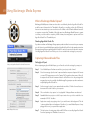
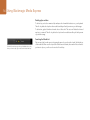
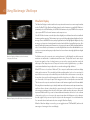
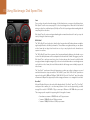
The 'record trigger' settings let you set your HyperDeck to
start and stop recording triggered by data received over an
HD-SDI connection.