1
Running the U-Pointer
After you double click the U-Pointer icon
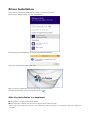
on the desktop, the U-Pointer will initiate and the U-Pointer icon will be
created on the system tray area.
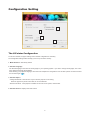
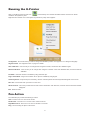
Right click the U-Pointer icon on the system tray area and a pull-up menu appears.
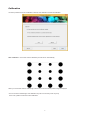
Configuration : Choose this when you want to change the installation position of the projector or to change the language.
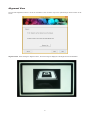
Alignment View : See “Alignment View” on page 6 for details.
Auto Calibration : If the accuracy is not enough when using the U-Pointer, execute the auto calibration again.
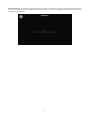
Manual Calibration : If the accuracy is not enough when using the U-Pointer or the auto calibration fails, execute the manual
calibration.
Pen Mode : Interactive function is available by using Interactive pen.
Finger Touch Mode : Finger Touch function as an option is available by using fingers.
Virtual Keyboard : If keyboard input is necessary, click the “Virtual Keyboard” and then keyboard will appear on the screen.
Run i-Pro : Choose this when you want to run the “i-Pro”.
About U-Pointer : This menu provides the U-Pointer version information. Click this menu, and then version information window
will appear.
Exit : Quits U-Pointer.
Pen Action
The Interactive pen provides the following 4 actions:
Click : Touch an icon or a menu on the screen.
Double Click : Touch an icon or a menu on the screen two times.
Right Button Click : Touch an icon or menu for at least 1.5 seconds.
Drag : Touch and drag an object on the screen.
9