1
2 - 26
Setting Up a New Site
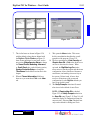
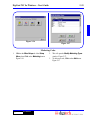
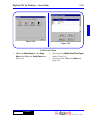
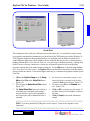
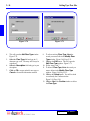
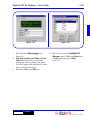
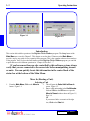
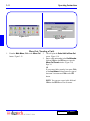
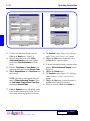
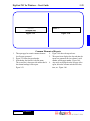
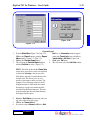
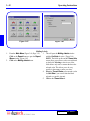
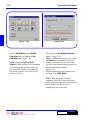
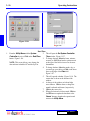
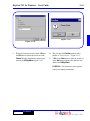
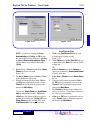
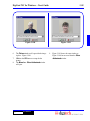
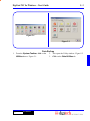
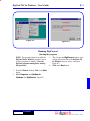
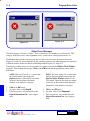
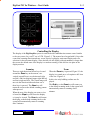
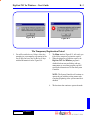
Figure 2-50
4.
5.
6.
7.
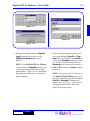
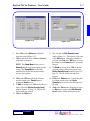
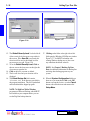
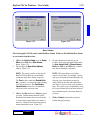
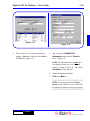
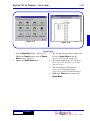
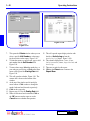
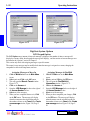
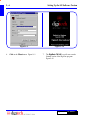
This will open the Time Zones window.
Figure 2-50.
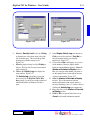
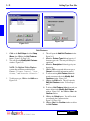
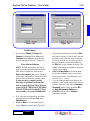
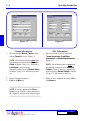
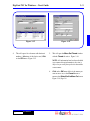
Select the Number field and type in a new
zone number between 1 and 64.
Select the Description field and type in your
description.
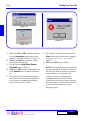
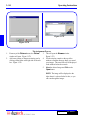
Enter the times for “Sunday.” The OPEN
column is the time your system will start to
allow entry to your site, and the CLOSED
column is the time when it will stop allowing
entry.
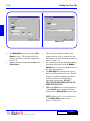
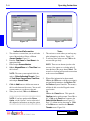
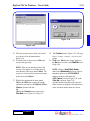
NOTE: Clicking on the Repeat button to the
right of the Sunday times will copy whatever
values you entered into the Sunday times, to all
other days. This is done to save you time if
each day or most days have the same hours.
8.
9.
Enter any times that differ into the fields
needed.
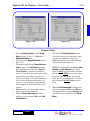
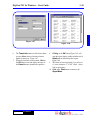
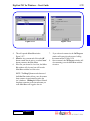
Click on OK to accept and add a new zone or
Cancel to discard the information entered.
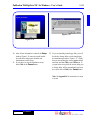
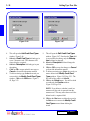
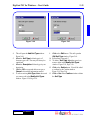
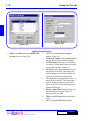
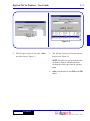
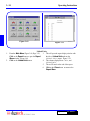
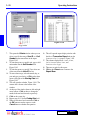
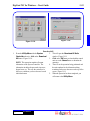
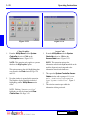
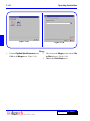
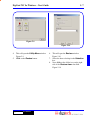
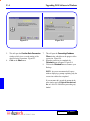
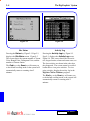
Figure 2-50.
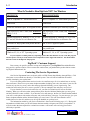
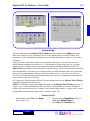
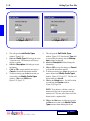
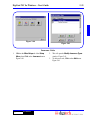
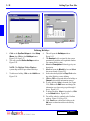
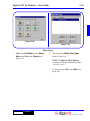
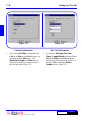
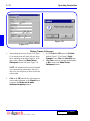
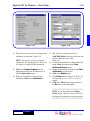
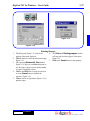
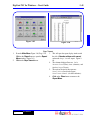
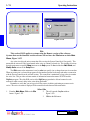
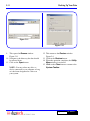
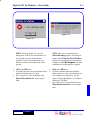
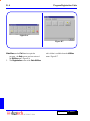
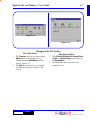
Figure 2-51
NOTE: Clicking on the Closed button to the
right of Holiday times will make the gate
inactive for the Holidays you define later in this
chapter. Figure 2-51.
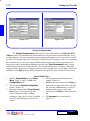
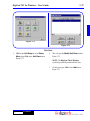
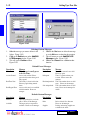
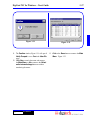
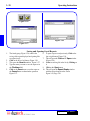
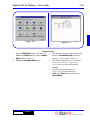
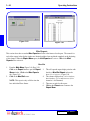
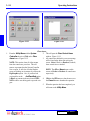
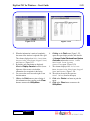
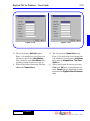
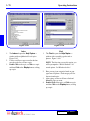
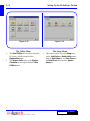
10. To edit an existing Time Zone, Select the
record you want to edit in the Define Time
Zones window. Figure 2-49, Page 2-25.
11. Click on the Edit Button. Figure 2-49,
Page 2-25.
12. This will display the screen shown in
Figure 2-47.
13. Follow Steps 6 through 9.
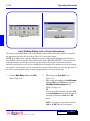
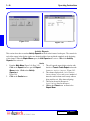
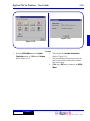
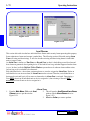
14. To delete a Time Zone, Select the record you
want to edit in the Define Time Zones
window. Figure 2-49, Page 2-25.
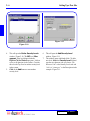
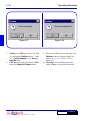
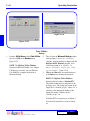
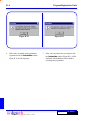
15. Click on the Delete button. You will be asked
to confirm by the Confirm window.
Figure 2-19, Page 2-10.
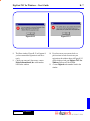
16. Click on the Yes button to confirm or the No
button to retain the Time Zone.
DigiGate-700™ for Windows®