1
Installing an Activator on a Solaris Workstation
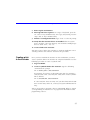
7. Power up the workstation.
8. Interrupt the boot sequence. On a Type 4 keyboard, press the
“L1” and “A” keys simultaneously. On a type 5 keyboard, press the
“Stop” and “A” keys simultaneously.
9. Initiate a reconfiguration boot. Type “boot -r” at the ok prompt.
10. Verify that the Activator driver is installed. After the system
starts, check the “/dev/rmt” directory. You should see multiple tape
devices called “0mn,” “0m,” etc.
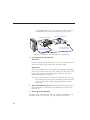
11. Create a link to the Activator.
You must create a link to the Activator to complete installation. Go to
“Creating a Link to the Activator” below for the procedure.
Creating a Link
to the Activator
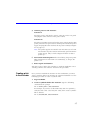
Once you have installed the Activator on the workstation, you must
create a symbolic link to the Activator to complete installation. Use the
following procedure to create a symbolic link:
1. Log in as ROOT.
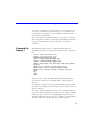
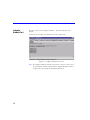
2. Create a symbolic link to the Activator. Type the following
command at the prompt:
ln -s <device_file> /dev/activator2
For example, if you have set the SCSI rotary switch to position 3,
verify the device file “/dev/rmt/3mn” exists, then create a symbolic
link as follows:
ln -s /dev/rmt/3mn /dev/activator2
If “/dev/rmt/3mn” does not exist, or if you don’t know which SCSI
ID to set the rotary switch to, contact your system administrator for
help.
You are now ready to program a device using APSW. Refer to chapter
4, “Programming an Actel Device” on page 27 for information about
programming a device.
23