1
ROUTER TABLE OPERATION R9PLUS Dovetail Jig User Guide
Introduction
Contents
3
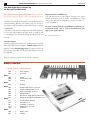
Dedicated Customer Support
1-800-663-8932
Chapter 1
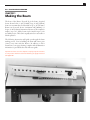
Making the Beam5
Chapter 2
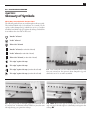
Glossary of Symbols11
Chapter 3
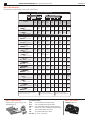
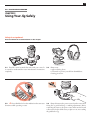
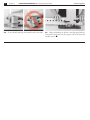
Using your Jig Safely13
Chapter 4
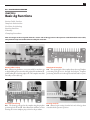
Basic Jig Functions15
Chapter 5
The Leigh eBush17
Chapter 6
Through Dovetail Joint Procedures
Concept of Operation
21
Board Width Selection22
Through Dovetail Joints
23
Half-Pitch Through Dovetail Joints
25
Wide Boards
26
Chapter 7
Box Joint Procedures
Concept of Operation
29
Board Width Selection30
3/8" Box Joints31
3/16" Box Joints33
3/4" Box Joints
34
Wide Boards
36
Appendix
Customer Support37
R9plus Beam Drawing38
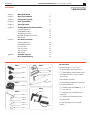
BAG 1
You will need:
BAG 4
e10
2030 x 2
80-8
160
2040
172-8
2080
• A wooden beam 11⁄ 2" x 31⁄ 2" x 30".
See jig assembly for optional beam sizes.
• 5 ⁄ 8"[15mm] MDF for sacrificial backer boards
and clamp face boards. See jig assembly for
optional sizes.
• A No.2 Phillips screwdriver
730V
BAG 2
2010 x 3
• An electric drill, preferably bench or pedestal,
but hand-held will work
• 3⁄ 32" drill bit for pilot holes. Note: use 1/8" or
9/64" for hardwood.
BAG 5
2050 x 2
• 3⁄ 4"[19mm] Forstner or similar bit for the
clamp holes
2055 x 2
• 5⁄16" drill bit for the back up board holes,
2060 x 2
• A countersink bit
2020 x2
BAG 3
2065 x 2
2070 x 11
2075
9505 x2
• A router with adaptor for the e10 guide
bushing