1
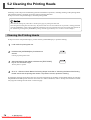
5-2 Cleaning the Printing Heads
Cleaning Using the Cleaning Kit
Cleaning using the cleaning kit should be carried out when automatic cleaning and forced cleaning performed using the
[HEAD CLEANING] menu item fail to correct image drop-out. It removes any ink buildup and accumulated dust or
grime from around the printing heads, as these can cause image drop-out or ink drips. We also recommend performing
periodic cleaning using the cleaning kit to prevent problems like these during printing.
If image drop-out persists even after performing cleaning with the cleaning kit, or if the cleaning kit has been used up,
contact your authorized Roland DG Corp. dealer or Roland DG Corp. service center.
The heads are consumable parts. The useful life is six billion shots per nozzle.
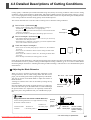
Before you attempt cleaning, read through this section carefully to familiarize yourself with the procedures, then carry out the
cleaning operations quickly and accurately.
Cleaning is performed while the caps on the printing heads are detached, so cleaning must be completed before the heads dry
out. It is suggested that cleaning be completed in thirty minutes or less.
If it appears that cleaning operations may take more than thirty minutes, stop the cleaning operations and follow the steps
below.
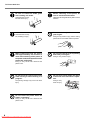
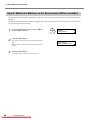
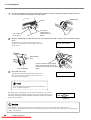
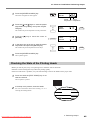
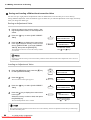
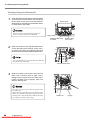
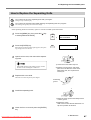
1. Attach the cover for the right side of the machine.
2. Press the [ENTER] key. (Cleaning of the printing heads starts.)
3. Again carry out cleaning using the cleaning kit.
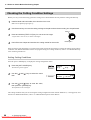
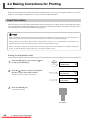
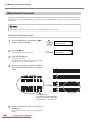
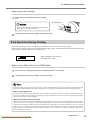
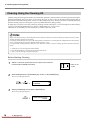
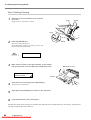
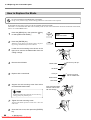
Before Starting Cleaning
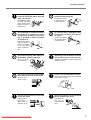
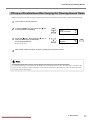
1
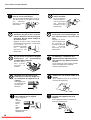
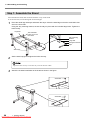
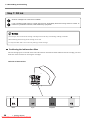
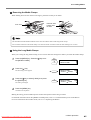
Switch on the main power switch on the back of the machine.
Leave media unloaded at this time.
2
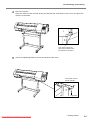
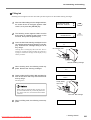
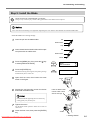
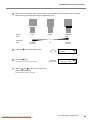
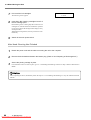
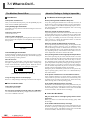
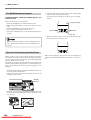
While holding down the [CLEANING] key, switch on the [POWER] key.
The screen in the figure appears.
MAINTENANCE
CLEANING
3
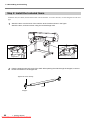
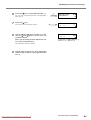
Select [CLEANING], then press the [ENTER] key.
The screen in the figure appears.
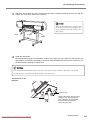
OPEN MAINTENANCE
COVER
5. ManualsPrinter.com
Maintenance
78
Downloaded
From
Manuals
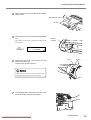
Switch to the
"I" side.