1
Installation
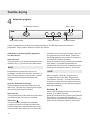
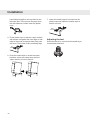
Condensed water
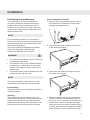
The machine is supplied as shown in Option 1
(inset). This means that the condensed water
is pumped into the condensed water container,
which must be removed and emptied by hand.
Option 2 allows you to remove the small short
hose from the nipple. Attach the rubber hose
supplied to the same nipple. The water can then
be pumped out into a sink or a floor drain (2a).
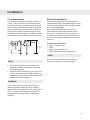
Electrical installation
Connect the machine by plugging it into an
earthed wall socket. The electrical wall socket
must be placed outside of the installation area
to be easily accessible.
If this appliance is supplied from a cord
extensions set or electrical portable outlet
device, the cord extension ser or electrical
portable outlet device must be positioned so
that it is not subject to splashing or ingress of
moisture.
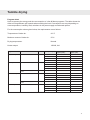
Connection on delivery
• 230 V, 1-Phase, 10 A
• 50 Hz
• Heat output 1950 W, 10 A
• Use a type A residual current device.
NOTE!
NOTE!
Do not connect the machine to the mains
electricity supply by an extension lead.
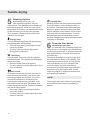
• Do not pull on the drain hose and do not
stretch it or allow it to become kinked as it
could get damaged.
• Secure the hose carefully (e.g. by trying it to
a tap to make sure it cannot slip during use).
Otherwise there is a risk of overflowing water
which could cause damage.
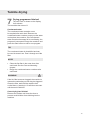
WARNING!
If the tumble dryer is to be connected to a
drainage system already in use by another
appliance it is essential to fit a non-return valve.
The non-return valve will prevent the risk of
back-flow into the dryer which could cause
damage.
23