1
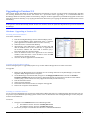
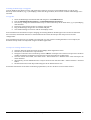
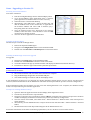
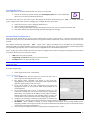
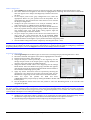
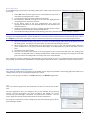
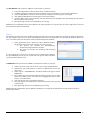
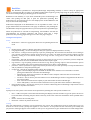
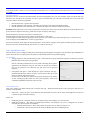
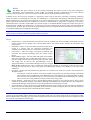
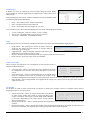
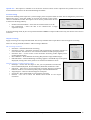
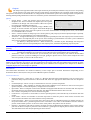
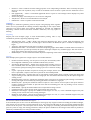
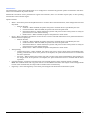
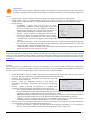
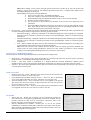
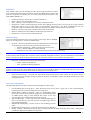
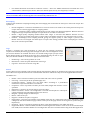
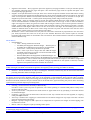
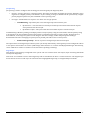
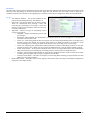
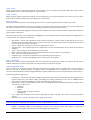
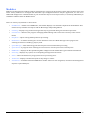
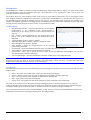
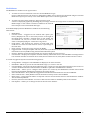
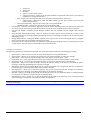
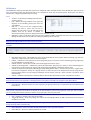
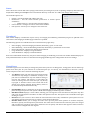
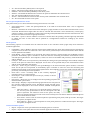
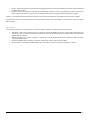
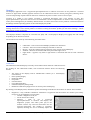
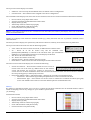
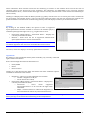
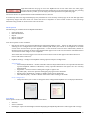
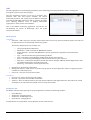
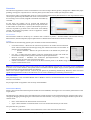
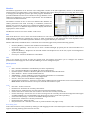
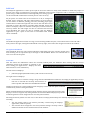
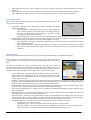
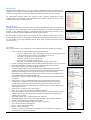
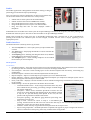
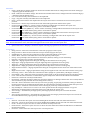
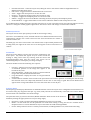
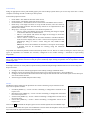
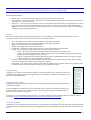
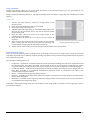
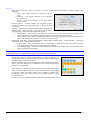
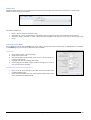
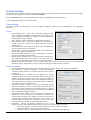
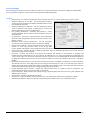
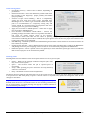
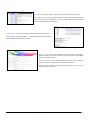
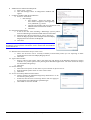
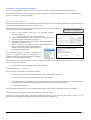
To create a template from submitted asset files: 1. 2. 3. 4. 5. 6. 7. Select Submit menu > Files as Assets. Navigate and select any files to use in Studio. Once the assets appear in the Asset queue/Asset panel they may be used. Drag and drop an asset into the Layout area. Adjust the size and properties for the frame. The frame may be copied and pasted into the Layout area for quick duplication of properties, or the Step and Repeat function (Frame menu > Step and Repeat) can be used. Save the template when complete. This will not save the images within the frames, only the frames and their placement in the Layout area. The saved template will appear in the Template Library list, with the name “Untitled”. Click the text to rename as required. To load the template, double-‐click the name. An empty frame set of the nest will appear, ready to accept any asset files dropped into the frames. Submit the nest to print when done. If a new set of images using the template is required, double-‐click the template name again to reload it. An empty nesting set will appear in the Layout area, ready for use. To create a template using the Step and Repeat function: 1. 2. 3. 4. 5. In Studio, go to Frame menu > Step and Repeat. A popup window will appear (see image). Enter the dimensions for the frame/s required for placement in the Layout area. Select how many are to appear both horizontally and vertically and specify any spacing required between each frame. As the horizontal and vertical values are increased frames will automatically appear in the Layout area. Stop when the desired level is reached and created. Select frames and adjust their properties as required. Save the template when done and rename it as desired. Note: If the Step and Repeat function is used when there are multiple frames selected and they are of varying size, all frames will be repeated in the Layout area. The size dimensions for the frames in the Step and Repeat window will not be editable. Using Studio Positioning Assets for Nesting A media guide sheet will appear to scale (in light gray) in the Layout area when dimensions have been entered into the Media panel fields. This allows for clear and simple placement of assets for nesting. When submitted to print, everything on the media guide sheet is printed. If only a width is entered, once an asset is placed in the Layout area, the media guide sheet will automatically lengthen to fit the job. As more assets are placed, the sheet will extend to display the total nesting area. Note: It is not necessary to have dimensions entered for the Media when creating a manual nest with Studio. When submitted, the nest will print to your selected media from the top left origin point, printing as much of the width or length of the nest as the paper in the printer will permit. The remainder will be cropped. Creating a Nest Studio allows for single or multiple assets to be dropped into the Layout area. 1. 2. 3. Select the assets (jobs) from the Asset panel. Drag and drop the assets into the Layout area. Assets will appear at their native size unless placed into an empty frame with specific properties configured (from a template or step and repeat frame). Resize and adjust the frame properties as required. This can be done via the Property panel when the frame is selected, or by using the following mouse options: o Left click (on a frame) – Selects the frame for editing, movement, locking or deletion. Selected frames will appear with a magenta border. o Left click (on empty Layout area) – Deselects all frames. o Left click (hold) + Drag (on empty Layout area) – Creates a temporary framing square for selecting multiple frames. Any boxes wholly or partially within the square when the mouse button is released will be selected. Serendipity Blackmagic User Manual – Version 5.3 117