1
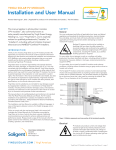
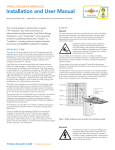
www.etsolar.com Mechanical Installation Selecting the location Select a suitable location for installation of the module. For optimum performance, the module must be facing true south in northern latitudes and true north in southern latitudes. For detailed information on optimal module orientation, refer to standard solar photovoltaic installation guides or a reputable solar installer or systems integrator. Shading on the module will reduce electricity production. Do not install the module near equipment or in locations where flammable gases can be generated or collected. Selecting the proper mounting structure and hardware Observe all instructions and safety precautions included with the mounting system to be used with the module. Do not drill holes in the glass surface of the module. Doing so will void the warranty. Do not drill additional mounting holes in the module frame. Doing so will void the warranty. Modules must be securely attached to the mounting structure using four mounting points for normal installation. If heavy wind or snow loads are anticipated, additional mounting points should also be used. Please see the drawing below. Load calculations are the responsibility of the system designer or installer. The mounting structure and hardware must be made of durable, anti-corrosion and UV-resistant material. Mounting methods 1. Mounting with Bolts The module must be attached and supported by at least four bolts through the indicated mounting holes. Most installations will use the four inner mounting holes on the module frame(include short frame mounting holes). Depending on the local wind and snow loads, additional mounting points may be required. (e.g. if the snow load is as high as 5400pa, please use eight bolts) www.ETSolar.com © 2014 ET Solar All Right Reserved -3-