1
Chapter 3 Initial Setup
3.1 Initial Procedure
The UNO-1019 offers an easy setup feature: It takes four easy steps for
your initial setup before use. Take out the UNO-1019 from the package
and follow the steps below for initial setup:
1.
Connect all peripheral devices, such as RJ-45 connector of Ethernet
connection, RS-232 (RJ-48 connector) and RS-485 connectors.
2.
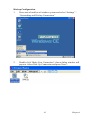
Connect the power cord to the UNO-1019 and plug the other end of
the cord into the power outlet, and then UNO-1019 boots up immediately. (IP Default setting : LAN1 is 10.0.0.1, LAN2 is 10.0.0.2)
3.
The UNO-1019 default IP is set as 10.0.0.1. Please set the IP of
your host computer to be static IP : 10.0.0.XXX for connection
with UNO-1019.
4.
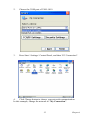
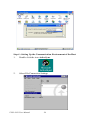
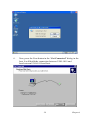
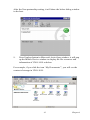
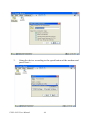
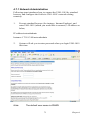
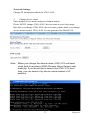
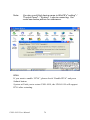
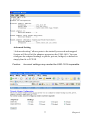
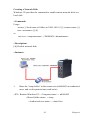
Using the uScope tool to re-configure the IP of UNO-1019 to meet
your network configuration. The path of uScope Remote Display
Tool in UNO-1019 CD is “\uScope Remote Display
Tool\uScope.EXE “.
uScope Remote Display Tool
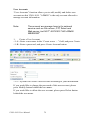
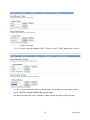
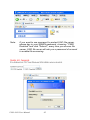
This tool works only with Ethernet connection. it's requires both of your
computer and the UNO-1019 has same Subnet Mask. The default IP
address for LAN1 is : 10.0.0.1 and the default Subnet mask is:
255.255.255.0. So you can set your computer IP address to 10.0.0.3 and
set the Subnet mask to 255.255.255.0.
UNO-1019 User Manual
24