1
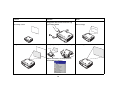
Connecting a computer
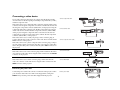
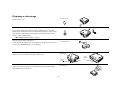
connect computer cable
1
Y
IR in
M1-DA 1
vesa 2
Y
2
Pb
Pr
serial control
7
video
Pb
D5 8
5
s-video
trigger 1
trigger 2
Pr
4
3
component
6
component
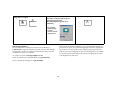
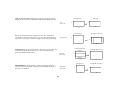
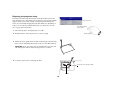
Connect either a VESA cable or M1 cable into the appropriate connector on
the projector. Connect the other end to the video port on your computer. If
you are using a desktop computer, you first need to disconnect the monitor
cable from the computer’s video port.
1
Y
M1-DA 1
IR in
vesa 2
Pr
3
component
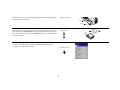
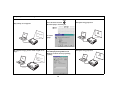
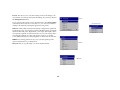
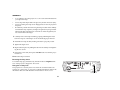
Connect the power cable to the connector on the back of the projector and to
your electrical outlet.
1
Y
connect power cable
M1-DA 1
IR in
vesa 2
serial control
Pr
3
component
Pb
7
video
D5 8
7
video
D5 8
trigger 1
trigger 2
Pr
6
component
trigger 1
trigger 2
Pr
4
5
s-video
Pb
4
5
s-video
Y
2
Pb
Y
2
Pb
serial control
6
component
The Power LED on the projector’s keypad turns solid green.
NOTE: Always use the power cable that shipped with the projector.
Turn on the projector, then your computer.
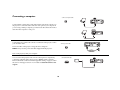
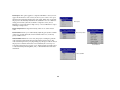
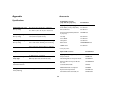
You can control the projector from an LCD control panel or computer by
connecting an RS-232 cable to the projector’s Serial connector. Specific
RS-232 commands can be found in the Appendix starting on page 37 and in
the Service and Support section of our website at www.infocushome.com/
support.
connect RS-232 cable
1
Y
M1-DA 1
IR in
vesa 2
serial control
10
2
Pb
Pr
3
component
4
5
s-video
Y
Pb
Pr
6
component
7
video
D5 8
trigger 1
trigger 2