1
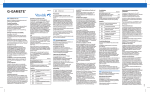
start new project
For further details please read the User Manual
or contact Primo Vision technical support:
[email protected]
Primo Vision time-lapse embryo monitoring system
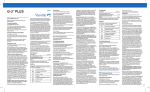
1. Log in
Log in the software using your username and password.
3. Start a new project
Click on the „Set up a
new project” icon. Select
also the type of dish you
will use in your project.
4. Wait for images to load
Wait until the microscope is acquiring images from wells.
This process can take up to 30 seconds. Please wait.
7. Return to the menu
When all of the wells’
images are set, return
to microscopemenu.
2. Double-click to activate
Activate the „idle” microscope you placed the dish in by
double-clicking.
5. Select wells
Select wells by clicking where
embryos were inserted. Press
on “Calibrate” icon for the
proper positioning of the
microscope.
3.150331.1
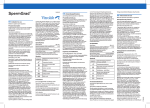
6. Make adjustments
For fine tuning of images
A
double click on a well’s
image for entering live mode.
Set the focal plane (A) if
necessry. For vieweing a
detailed image use zoom
function (B). For navigation
among the wells use the
D
arrows (C), or the well map
(D). The position of the live
image is shown on the right upper corner.
8. Start project
Press on the „Start project”
icon.
C
B
start new project
For further details please read the User Manual
or contact Primo Vision technical support:
[email protected]
Primo Vision time-lapse embryo monitoring system
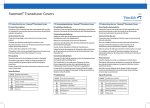
9. Check details
Under „General” tab enter patient name, project ID, define
the time and date of fertilization and select a “Capturing
profile” (in case of research or super user), and check the
details.
10. Provide information
Under “Patient” tab, provide all the information that has been
included in this profile. Under “Fertilization” tab, provide all
the information that has been included in this profile.
Tip: You can provide and update this information at a later
stage too, until the project is finalized.
3.150331.2
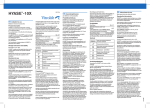
11. Press “OK”
Press “OK” for starting the project. The first image
acquisition can take up 20 second, please wait.