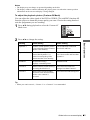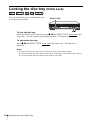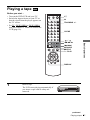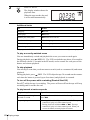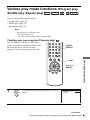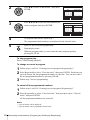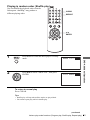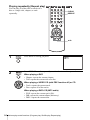
1
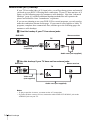
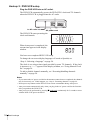
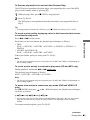
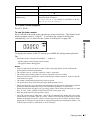
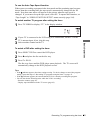
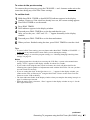
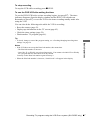
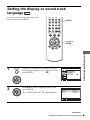
To return to the previous step
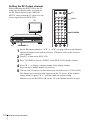
To return to the previous step, press the CHANNEL + and – buttons on the unit at the
same time during any of the Dial Timer settings.
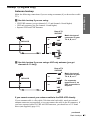
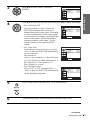
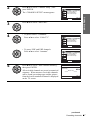
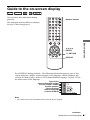
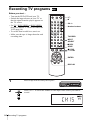
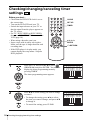
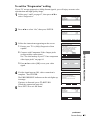
To set the clock
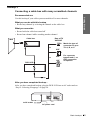
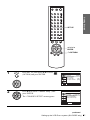
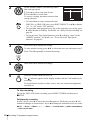
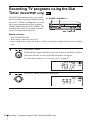
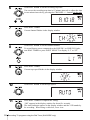
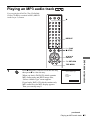
down DIAL TIMER so that MONTH indicator appears in the display
1 Hold
window. However, if the clock has already been set, the current setting appears.
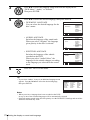
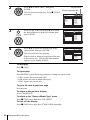
2 Turn DIAL TIMER to set the month.
DIAL TIMER.
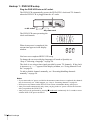
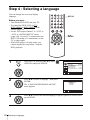
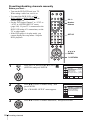
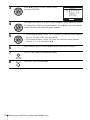
3 Press
DAY indicator appears in the display window.
and press DIAL TIMER to set the day and then the year.
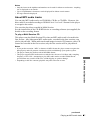
4 Turn
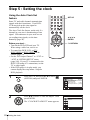
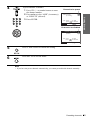
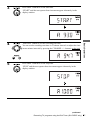
After you set the year, “AM” and “12:– –” appear alternately in the display
window.
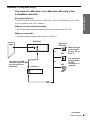
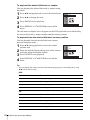
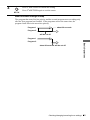
Turn and press DIAL TIMER to set the hour and minute.
Tips
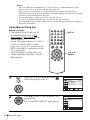
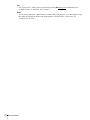
• To cancel a Dial Timer setting, press any button other than DIAL TIMER or CHANNEL +/–
on the unit or any button on the remote while you are making the setting.
• To check, change, or cancel the program setting, see “Checking/changing/canceling timer
settings” on page 58.
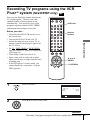
Basic Operations
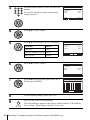
5
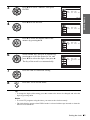
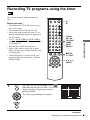
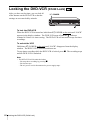
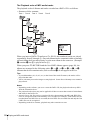
6 When you have finished setting the time, press DIAL TIMER to start the clock.
Notes
• If eight programs have already been set using the VCR Plus+ system or the manual timer
setting, “FULL” appears in the display window for about five seconds.
• If you set the clock using the Auto Clock Set feature, the clock will adjust itself to the
incoming time signal regardless of adjustments made with the Dial Timer. Be sure you have
set Auto Clock Set correctly.
• If you are setting the clock for the first time or “0:– –” appears in the display window, you
cannot set the clock to February 29th using the Dial Timer. Please use the Auto Clock Set
feature to set the VCR to this day.
• The timer indicator flashes in the display window when you complete the setting in step 9 on
page 52 with no tape inserted.
• When the setting time is incorrect, “Error” appears in the display window in step 9. Set the
timer again from step 1.
continued
Recording TV programs using the Dial Timer (SLV-D550P only)
53