1
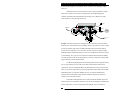
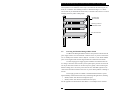
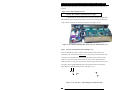
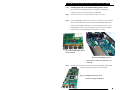
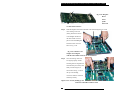
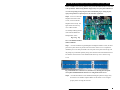
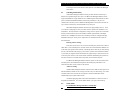
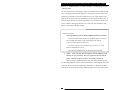
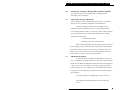
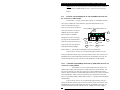
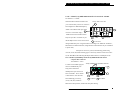
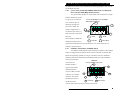
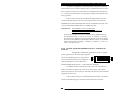
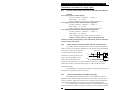
BLACK BOX Managed Fiber Switch Installation and User Guide (08/03) 3.5.3 Removing PM Cards To properly remove a PM card from the LE2425A Managed Fiber Switch, follow the 3 steps below. Step 1. Remove chassis cover See procedures in Section 3.5.1 above. Caution: Be sure the power cord is unplugged. Step 2. Remove retaining screws placed on top for the PM and Face Plate On the top of the daughter module there are six retaining screws for each PM card. These screws are used to secure a PM card in position (see Figure 3.5.3a). Remove the three standoffs holding the Granddaughter board with the chassis. The screen faceplate screws out from the inside front of the chassis cover by loosening the 4 screws and bracket while holding it down firmly. Figure 3.5.3a: Top View - 6 retaining screws shown by arrows Step 3. Remove PM Card Carefully and gently pull out the daughter board from the latching connectors, using both hands, gripping the board near the latch-up connectors as shown in Fig. 3.5.3b . If the now empty slot is to remain unused, be sure to install a PM-BLNK face plate cover. Figure 3.5.3b: Removing a PM Card If another PM card is replacing the one that has been removed, follow the steps as described for installing a PM card discussed in Section 3.5.1. 28