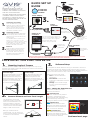
1
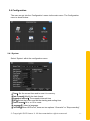
FACE DETECTION FUNCTION
SETUP (Cont.)
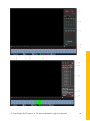
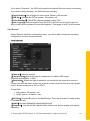
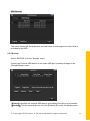
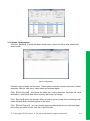
Face Search List
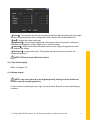
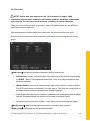
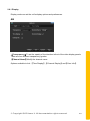
CLOUD STORAGE BACKUP
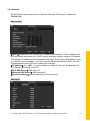
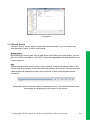
The device can upload face pictures automatically to a cloud
storage account by syncing to your Dropbox account.
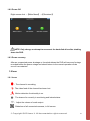
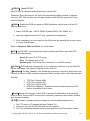
From the Main Menu, select Cloud Storage and setup the link
between the DVR and your Dropbox account. You can choose
what video source you would like to be backed up remotely.
Choose between Motion Detect, Video Loss & Camera Masking.
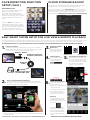
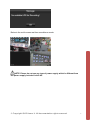
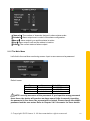
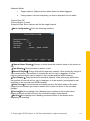
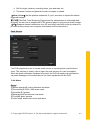
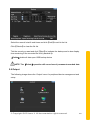
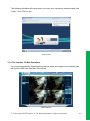
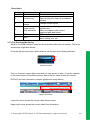
Return to the real-time monitoring
page using the right click on
the mouse. Face images will be
presented on the right hand side of
real-time monitoring screen. The face
picture will be saved to the DVR’s
HDD.
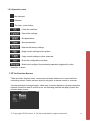
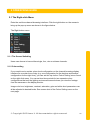
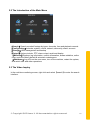
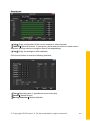
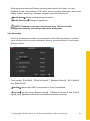
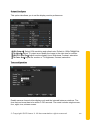
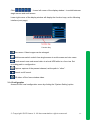
Enter the Face search page, you
will be able to search the recorded
face list. By double clicking the face
pictures you will be able to play back
the video footage from the time
around when the face was recorded.
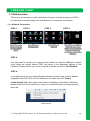
EASY SMART PHONE SETUP FOR LIVE VIEW & REMOTE PLAYBACK
For the convenience of monitoring your Qvis security system on the move via your smart phone we have provided a quick and simple remote
connection setup service. Please follow the steps below closely to successfully setup the connection for live view and remote playback.
PLEASE MAKE SURE THAT YOUR DVR DEVICE IS SETUP AS SHOWN ON THE REVERSE SIDE OF THIS PAGE BEFORE CONTINUING.
1.
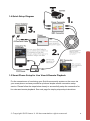
Internet connection
Connect the Ethernet cable into the ‘Net’ port on the rear of
the device, then connect the other end into one of the spare
ports on your modem-router, as shown below.
3.
Modem - Router
Ethernet connector
to spare router port
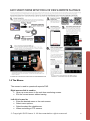
Download & install
Medusa app
Select the Medusa
app and install on to
your smart phone
ANDROID APP
4.
Add new device
Once installed, open
it up and press the
button: ‘+ Device’.
5.
Ethernet
cable
iOS (APPLE) APP
Scan unique device QR code
The next screen will have an
icon of a QR code, select this
to use the inbuilt QR scanner.
Scan QR code found on Step
2 of the Startup Wizard,
shown on your monitor
screen.
Ethernet connector
to DVR ‘NET’ port
2.
Scan
here
Step 1: Download Sentient 960H app
Turn the power on to the DVR device. When it has fully
booted up, you will be presented with a ‘Startup Wizard’
window displayed on your monitor.
www.qviscloud.co.uk
The video channel display
screen will then allow
you to view the cameras
connected to the DVR.
Android App
www.sentientconnect.co.uk
6.
View Live feed cameras
Your DVR will now be
shown on the list of
devices along with a list of
camera channels.
Android App
iOS App
For more help please visit www.sentientconnect.co.uk
For more help please visit www.sentientconnect.co.uk
Using a QR scan app, scan the corresponding QR code to the
operating system on your phone, i.e. scan the iOS QR code if you
have an iPhone.
For further info or help with your product, please visit: www.qvishome.co.uk
Playback
To playback and review
footage select the icon
shown here found on the
device list screen:
Choose the date, time
and channel you wish to
view footage from and
then the app will search
for recorded footage to
review.
Success! You should now be fully setup.