1
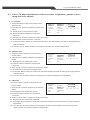
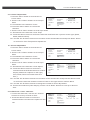
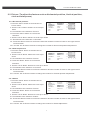
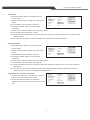
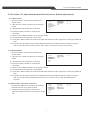
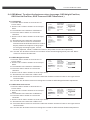
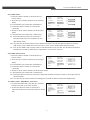
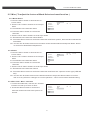
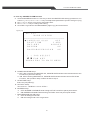
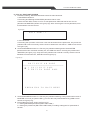
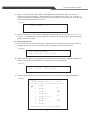
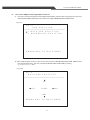
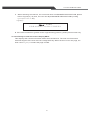
1u Claxan KVM-Switch Rack F. Under AUTO SCAN mode, hitting<→> key is to select the nest powered-on PC. G. Under AUTO SCAN mode, hitting<←> key is to select the previous powered-on PC. H. Exit Auto SCAN mode: Press <ESC> key to exit the AUTO SCAN and return to the selected PC and also enter into the MENU mode operation, and the MOUSE and KEYBOARD then work normally. 5. <F2> key SELECT PC function A. Under MAIN MENU mode, hit <F2>key to enter the select PC function, the screen displays as Figure(4). B. Under the mode, use <↓> or <↑> key to move the cursor ☞(CURSOR), use <ENTER> to Confirm the PC selection. C. Under OSD display: right side (STU) field shows the selected PC status: + :selected PC is POWER ON; + 8:selected PC is daisy-chained to 8 port model series which have MASTER / SLAVE Configuration. D. Line one shows PC: 3+7 which indicates that the selected PC is Port 7 of SLAVE and This SLAVE is daisy-chained to MASTER port 3. (Figure(4)) Figure(4) PC:3+7 PORT SELECT MENU STU ─────────────────────── 1 PC1-1111 2 PC2-2222 3 SLAVER-3 4 PC4-4 5 PC5-5555 6 PC6 7 SLAVER-7 8 PC8 + +8 + +8 PC POWER OFF PC POWER ON PC side is connected to SLAVE of 8port PRESS ESC TO MAIN MENU E. If cursor☞ selects the PC which is remarked with “⊕ò” means that the PC is daisyChained to the SLAVE. Hit <ENTER> or <→> to enter into the cascaded SLAVE. OSD shows the selected daisy-chained PC information (see Figure(5)). On the right side of Line 1 of Figure(5) shows “SLAVER:??” to identity the on screen information is from?? Port of SALVER. 16