1
Enterprise IP Phone
Advanced Phone Functions
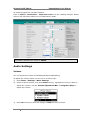
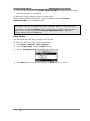
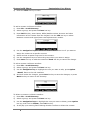
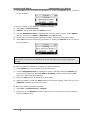
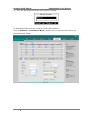
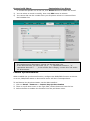
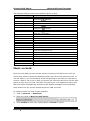
When ready to receive calls from the server, the phone user logs into a queue and
changes the phone status to “available” manually using the IP phone UI(press DSS
Key again to enter to the ACD Status page, then select the phone status as
Available/ Unavailable.). If the phone is set to “available”, then the server begins
to distribute calls to this phone.
Note:
ACD feature is not available on all servers. Please contact your system
administrator for more information.
Zero-sp-touch
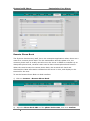
This key function allows phone to complete configuration just need to provide the
server’s user name and password.
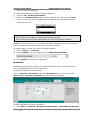
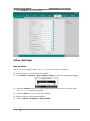
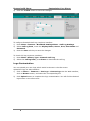
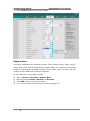
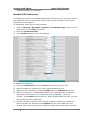
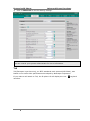
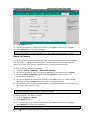
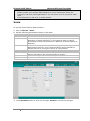
Configure the key as Zero-sp-touch:
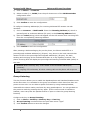
1)
Click on Phone->DSS Key->Memory Key or Line Key.
2)
Zero-sp-touch is selected from the pull down menu “Type”.
3)
Click Confirm button to save the changes
URL
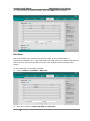
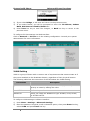
This key function allows you to send HTTP requests to a web server.
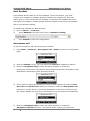
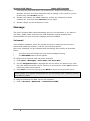
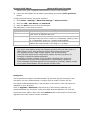
Configure the key as URL:
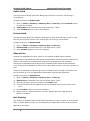
1)
Click on Phone->DSS Key->Memory Key.
2)
URL is selected from the pull down menu “Type”.
3)
Enter the URL in the Value field.
4)
Click Confirm button to save the changes.
SNMP
Simple Network Management Protocol (SNMP) is an Internet-standard protocol for
managing devices in IP networks. It is used mostly in network management systems
to monitor network-attached devices for conditions that warrant administrative
attention. SNMP exposes management data in the form of variables on the managed
systems, which describe the system configuration. These variables can then be
queried (and sometimes set) by managing applications. For further information, you
can refer to http://en.wikipedia.org/wiki/SNMP.
By default, the phone does not accept SNMP requests. This is necessary because
SNMP might introduce unwanted security threats. The phone only supports the GET
request of SNMP. SET or other requests are not supported. To enable SNMP, you
must specify what IP addressed may send SNMP requests to the phone.
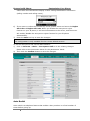
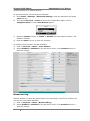
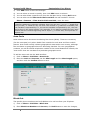
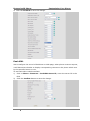
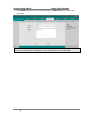
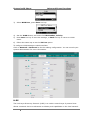
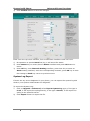
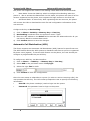
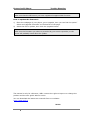
To configure SNMP via Web interface:
1)
Click on Network -> Advanced.
2)
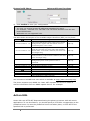
Select Enabled in the pull-down menu of SNMP Active.
3)
Enter the Port number and Trusted Address.
91