1
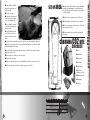
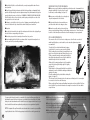
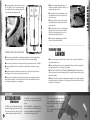
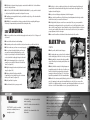
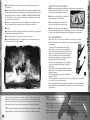
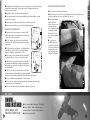
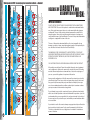
n Deflate once again.
n Remove the valve plug and
replace it in the Velcro fitting
on the corresponding strut.
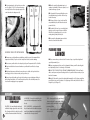
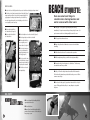
n Set up your kite for the first time at home, away from
the wind, water and temptation to kiteboard immediately. This way, you can be sure that you set your kite up
correctly and safely.
n If possible, choose a grassy area, out of the wind.
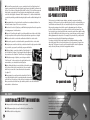
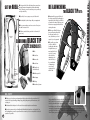
CO2
Kite–
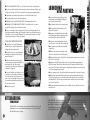
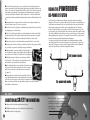
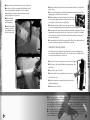
n Tie the flying line from the
end of the strut opening onto
the valve nozzle.
n Avoid asphalt lots, which may chafe your equipment.
n Choose an area where you have room to roll out your
kite and 30 meters of line.
n Position yourself so that your back is to the wind, if
there is any.
–Bridle–
Lines
44
CABRINHA CO2 KITE
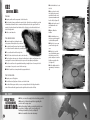
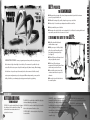
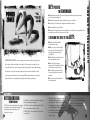
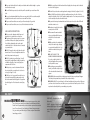
n Gently feed the nozzle into the sleeve, followed by the rest of the bladder (See figure 44).
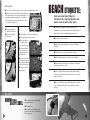
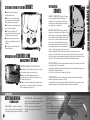
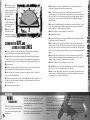
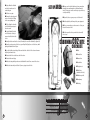
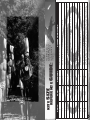
CHECKLIST:
n From the nozzle opening of the sleeve, you will pull the flying line out of the sleeve, while
pulling the bladder back into place.
n Once the bladder is replaced, pull the nozzle back into the hole of the sleeve and remove
the flying line from its base.
n Kite
n Re-attach the Velcro at the base end of the sleeve.
n Control bar
–Control–
Lines
n Re-attach the nozzle plug.
n Harness line
n Inflate the strut partially to make sure the bladder fits into all four corners of the sleeve.
n Leader lines
n Inflate the strut entirely or deflate it if you are going to store the kite.
n Flying line set
n Bridle lines
(attached to the kite)
Wrist
Leash–
n Bladder repair kit
–Leader–
Lines
n Hand pump
Control
–Bar
n Kite bag
–Harness
Lines
W
H
A
T
T
O
Helmet
Neoprene wet suit
Foot protection
37
S ET T ING U P Y O U R
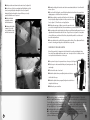
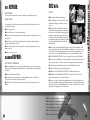
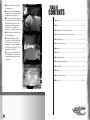
n Lay the bladder flat at the
end of the strut, so that you
may now feed it back into the
sleeve.
CO2 K I T E F OR T HE FIRST TIME:
SET UP AREA:
n Again, inflate the bladder
and check to make sure it is
now holding air.
Life jacket or flotation vest
W
E
A
R
Gloves
Eye protection
Sunscreen
Safety knife
2