1
Installation - Remote Connections
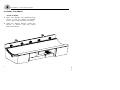
T-Max® 1A and 3A Remote Systems
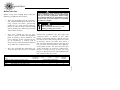
In single sunbed installations, the T-Max® 1A
and 3A can offer the same control as the TMax® Manager, eliminating the need for a
Manager. If you’re using a 1A in this manner,
it must have a chip labelled “master” installed
on its circuit board. The remote control
bypass plug must not be used in this configuration. The 3A may be used as a “master” with
no modification.
Setting the address manually
Before connecting your sunbed to the T-Max®
Manager or T-Max® 1A or 3A, the address of
your sunbed must first be set. Set the “id” manually as described below.
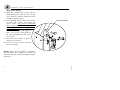
Setting the “id”
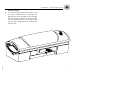
1. Make sure no cables are plugged into
your sunbed’s remote ports.
2. Remove and reapply power to the unit.
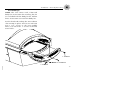
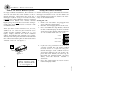
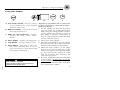
3. Press and hold the stop button, located
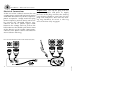
After you have set the T-Max® 1A’s, or 3A’s,
on the sunbed display, for three seconds
address to “0” (refer to your T-Max® user’s
and release. The display should indicate
guide) and the sunbed’s address to “1” (see
an “id” number from “oF” to “252”.
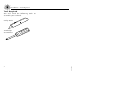
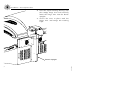
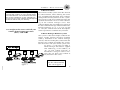
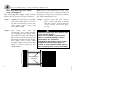
right), simply connect the RJ-22 modular
1-99
cables, described in the T-Max® user’s guide,
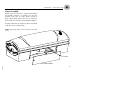
directly into either port located on the back of
100-199
the sunbed and either port on the back of the
T-Max® 1A or 3A. See figure 2.
200-252
figure 2
NOTE: A T-Max® 1A
with a “master” chip
can be substituted for
a 3A in figure 2.
26788-01A
15
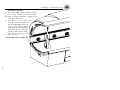
4. If you are using a T-Max® 1A or 3A as a
“master” remote, the “id” of the sunbed
must be set to “1”. If you are using a TMax® Manager each sunbed must be
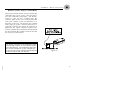
assigned a different “id”. To set the “id”
press the timer button, to count up, or
the body fan control button, to count
down, until the desired number is
achieved.
5. Press the stop button to return to the
normal display mode.