1
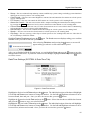
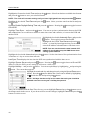
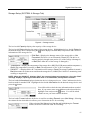
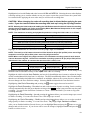
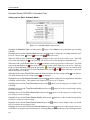
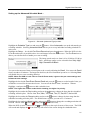
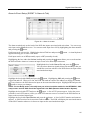
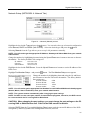
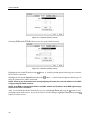
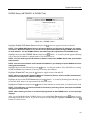
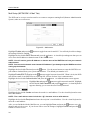
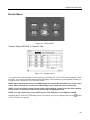
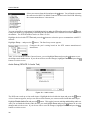
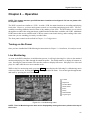
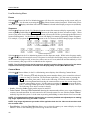
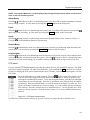
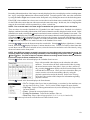
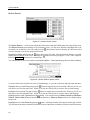
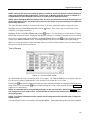
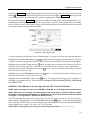
Digital Video Recorder Network Setup (NETWORK Network Tab) Figure 21 ─ Network (Manual) screen. Highlight the box beside Type and press the button. You can select the type of network configuration from: Manual, DHCP and ADSL (with PPPoE). Select the desired type and press the button. Selecting Manual from the Type allows you to set up LAN parameters manually. NOTE: You will need to get the appropriate IP Address, Gateway and Subnet Mask from your network administrator. Change the numbers by highlighting them and using the Up and Down arrow buttons to increase or decrease the number. The factory default LAN settings are: IP Address: Gateway: Subnet Mask: 192.168.1.129 192.168.1.254 255.255.255.0 Highlight the box beside DNS Server. Press the Up and Down arrow buttons to set the IP address of the DNS server. Highlight Port Number Setup… and press the button. The Port Number Setup screen appears. Change the numbers by highlighting them and using the Up and Down arrow buttons to increase or decrease the number. The factory default Port settings are: Remote Admin: Remote Watch: Remote Search: Remote Audio: 8200 8016 10019 8116 NOTE: You will need to get the appropriate Port Numbers for each RAS and WebGuard related program (Admin, Watch, Search and Audio) from your network administrator. NOTE: The system restarts automatically after changing the port settings. NOTE: Do NOT use the same port number for two different programs, otherwise, the DVR cannot be connected with the PC running RAS or WebGuard. CAUTION: When changing the port settings, you must change the port settings on the PC running RAS or WebGuard as well. Refer to the RAS manual for details. Selecting DHCP from the Type and highlighting Save button reads the current IP address of the DVR configured by DHCP (Dynamic Host Configuration Protocol) network. 31