1
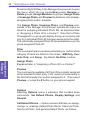
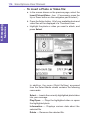
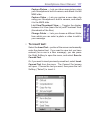
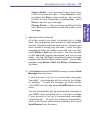
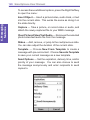
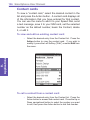
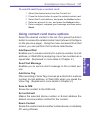
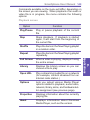
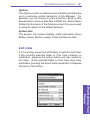
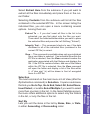
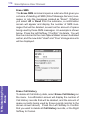
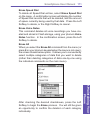
38
Smartphone User Manual
Press the Right Softkey in the Manage Group screen to open
the menu, which lets you create New groups, Rename or
Delete groups, Assign Members to groups, Assign Photo
or Unassign Photo, and Preview the behavior of an alreadyassigned photo and/or template.
The Assign Photo, Unassign Photo, and Preview commands in the Manage Group screen operate the same as
those for assigning individual Photo IDs, as explained later
in “Assigning a Photo ID to a Contact.” Note that a Photo
ID assigned to a group will display during an incoming call
only if no individual Photo ID has been assigned to the caller.
The individually-assigned Photo ID has precedence over the
group-assigned Photo ID.
2. Using
your phone
Filter
This command opens a submenu that lets you control which
category of items are listed on the screen: SIM Only, Contacts Only, and Group. By default, No Filter is active.
Assign Photo
Explained later in “Assigning a Photo ID to a Contact.”
Preview
This command is available if a Photo ID is currently assigned
to the selected Contact entry. First, select a Contact entry in
the list that already has a photo assigned to it. Then select
Preview, or press the # button on your phone keypad.
Options
Selecting Options opens a submenu that contains three
commands: Set Default Photos, Display Settings, and
General.
Set Default Photos — Opens a screen that lets you assign,
change, or unassign default Photo IDs for Unknown Photo,
Not-found Photo, and general Default Photo, as follows: