1
user’s manual
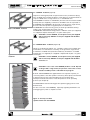
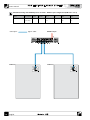
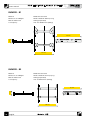
Splay angle: 10°
Splay angle: 11°
Splay angle: 12°
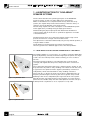
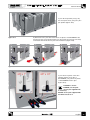
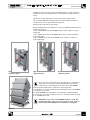
8) Join together the backs of the speakers, starting from the top of the
array: moving from the first to the second, the second with the third,
and so on to the last one, always using 4 pins and 2 plates, and setting
the desired splay angles.
If a splay angle different from 0° is required, after first attaching the
plates to the upper speaker, rotate the lower speaker so that the desired
attachment holes on the plates are aligned with those on the speaker.
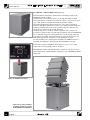
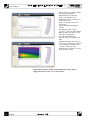
The light weight of the speakers allows them to be rotated by holding the
handles of the two adjacent speakers with one hand, as shown in figure 20.
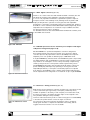
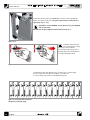
If this procedure turns out to be too difficult or impractical (when the array
is very long or in cases of very marked curvature), it is possible to attach
the BUMPER to the hoist and slowly begin the system rigging, so that the
speakers are at the desired angle (figure 21).
Figure 20
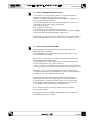
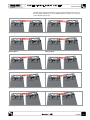
In some cases it may be more practical to assemble blocks of four
loudspeakers, and to fix the first one directly to the rigging structure. After
a partial lift of the structure, other blocks of the array may then be added
(figure 22).
Figure 21
Figure 22
54
english












![[en] owner`s manual](http://vs1.manualzilla.com/store/data/006162832_1-909017f8e41cb525dbc302a6f278af8f-150x150.png)