1
Current Check
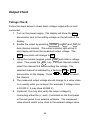
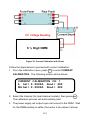
Follow the steps below to check basic current output of the power
supply.
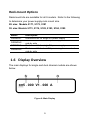
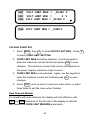
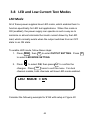
1. Turn on the power supply. The display will show the OFF
annunciator next to the setting voltage on the left side of the
display.
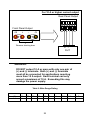
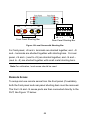
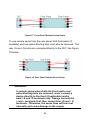
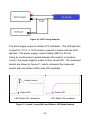
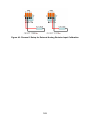
2. Short the (+) and (-) output terminals with test leads, shorting
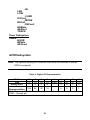
bar, or clip. (Refer to Table 2 to select appropriate test leads)
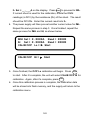
3. Enable the output by pressing
OUTPUT
(or
CH1
and
CH2
for
dual channel models). The output indicator light will be lit
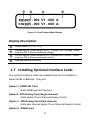
and display will showthe measured output voltage. The OFF
annunciator will change to CC.
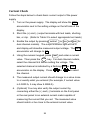
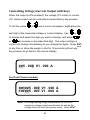
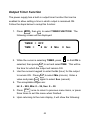
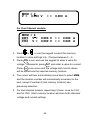
4. Using the numeric keypad, press Iset and enter a current
value. Then press the
Enter
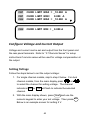
key. For dual channel models,
select the channel first before setting the voltage. The
selected channel is indicated by a flashing CH1 or CH2
annunciator on the display. Press
the channel.
or
to select
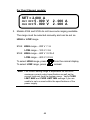
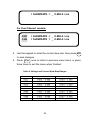
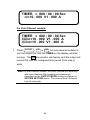
5. The measured output current should change to a value close
to or exactly what you entered (For example, if current value
is 5.0000 A, it may show 4.9998 A).
6. (Optional) You may also verify the output current by
connecting either the (+) and (-) terminals on the front panel
or the rear panel to an external current meter capable of
measuring the current that you set. The measured value
should match or be close to the entered current value.
26