1
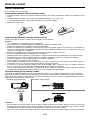
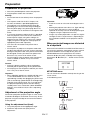
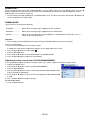
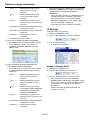
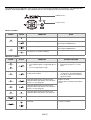
AUTO POSITION button
When the image isn’t projected in the right position with
Computer selected as the input source, follow the
procedure below.
1. Project an image containing a lot of characters without black areas. (For example, display a window
containing a lot of characters in the full-screen
mode.)
2. If the screen saver is running, turn it off.
3. Press the AUTO POSITION button.
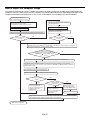
• If the image is still not in the right position, adjust
the image position using the SIGNAL menu. See
page 30. (For details, see the flowchart on page
37.)
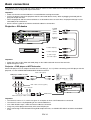
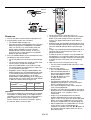
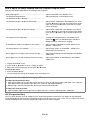
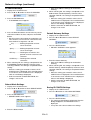
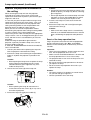
Volume from the speaker
Press the VOLUME + or - button on the remote control
or VOLUME button on the projector. The volume control
bar will appear on the screen. Press the VOLUME +, -,
W or X button while the volume control bar is displayed
to adjust the volume.
• The volume control bar will disappear about 10
seconds after the VOLUME button is released.
• The VOLUME buttons don’t function while the menu
is being displayed.
• When a high-level audio signal, such as a DVD audio
signal, is supplied to the AUDIO IN terminal, the
output from the speaker may be distorted.
• When the audio cable is connected to the AUDIO
OUT terminal, the speaker output is muted.
• The volume of the audio from the AUDIO OUT
terminal is also changed by pressing the VOLUME
buttons.
• The VOLUME value varies within the range between
0 and 21.
You can change the volume during power standby by
pressing VOLUME + or - button when STANDBY MODE
in the INSTALLATION menu is set to STANDARD.
(See page 25 for menu setting.)
Change the AV MUTE TIMER setting as necessary.
(See page 28)
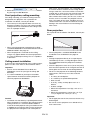
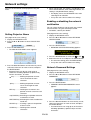
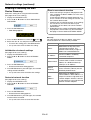
Setting the aspect ratio
You can change the aspect ratio of the input video
signal (or the ratio of width to height of the image).
Change the setting according to the type of the input
video signal.
How to change the settings:
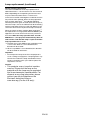
With the remote control:
1. Press the ASPECT button.
• Every time the ASPECT button is pressed, the
aspect mode changes from NORMAL to 16:9, to
FULL, and back to NORMAL.
- NORMAL:
Select to change the aspect ratio automatically
depending on the input signal. (Select this option
for normal use.)
- 16:9:
Select to expand squeezed (or horizontally
compressed) images such as DVD images to
16:9.
- FULL:
Select to project images in full size irrespective
of type of input signal.
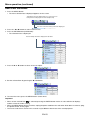
With the FEATURE menu:
(See page 25 for menu setting.)
1. Display the FEATURE menu.
2. Select ASPECT by pressing the S or T button.
3. Select your desired aspect ratio by pressing the W or
X button.
When 16:9 is selected with FEATURE menu, you can
make further settings using the following procedures.
4. Press the ENTER button.
5. Select an item you want to set by pressing the S or
T button and select a setting by pressing the W or
X button.
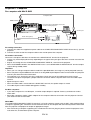
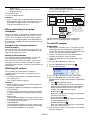
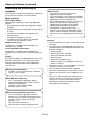
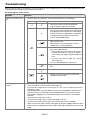
Blanking the screen temporarily (AV
mute)
The video and audio signals are temporarily muted
when the AV MUTE button is pressed. To cancel
muting, press the AV MUTE button again.
• The audio from the AUDIO OUT terminal is also
muted by pressing the AV MUTE button.
• The AUTO POWER OFF function does not work
during AV MUTE.
• POSITION: (for TX10U only)
You can select the image display position within
the screen from UPPER, CENTER, and LOWER.
• MODE:
You can select whether or not to display signals
at 16:9 depending on their type.
- ALL SIGNALS:
All signals are always displayed at 16:9
irrespective of their type.
Important:
• The AV MUTE TIMER function of this projector is
enabled by default. AV MUTE is automatically
canceled when the muting continues for one hour.
EN-21