1
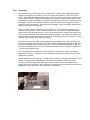
4.4.2 Position 2 Alignment. The Position 2 “Home” setup is a matter of aligning the cutting plane of the
tool so that it intersects with the pivot axis, providing a retrievable dimension starting point (¶ 4.2.1
showed mounting the Drive Motor in Position 2).
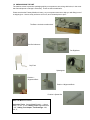
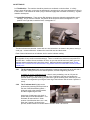
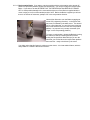
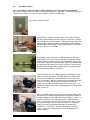
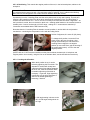
Insert the grooving tool. Lightly tighten the set screw that holds it - it
will need to slide in and out slightly, as part of the alignment procedure,
that is, aligning the cutting plane of the tool with the θ pivot axis - “on
center”.
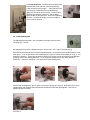
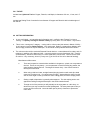
Set the Alignment Plate in place - down onto the plate - the back edge
pushed against the face of the Drive Motor Block. Slide it toward the
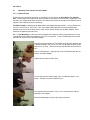
tool. The V groove in the brass
rod will engage the tool. That V
groove is on center - manipulate
the tool holder in-out until it aligns
in the V groove -- you can see it
and feel it. Lock the tool there - it
is on center.
This technique will work with ballshaped or cylindrical tools as well.
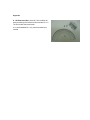
Looking down - groove tool centered
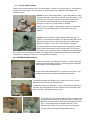
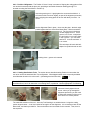
4.4.2.1 Setting Small-shank Tools. The section above described setting Position 2 Home when the
tool to be used is the standard Ultra Tec configuration. What happens when some commonly-available
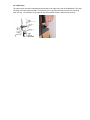
small diameter shank tool is to be used? - (something that looks like this)
?
Section 5.0, further down, describes mounting tools, in general - but before getting into alignment of
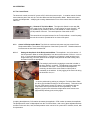
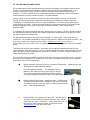
small-shank tool, here’s an instruction on mounting them, in particular. Use the appropriate Tool Bushing
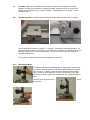
Insert and loosely tighten the set
screw - when you go through the
alignment procedure, you will need
to adjust the extension of the tool to
set it into the on-center position
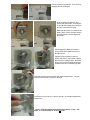
The extended extension of the tool - since the Tool Bushing is an added element - brings the cutting
portion beyond center -- it can’t be backed off enough to do the alignment. It is necessary to back off the
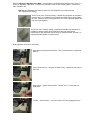
Motor itself, and that is provided for. Remove the Motor and set it aside for the moment. Then, here is
the sequence: