1
Access Procedures
Chapter 3
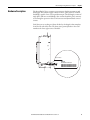
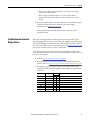
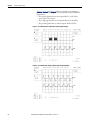
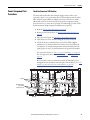
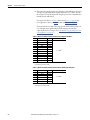
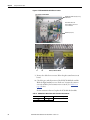
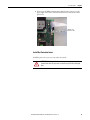
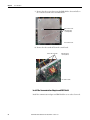
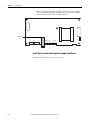
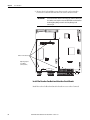
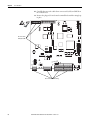
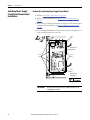
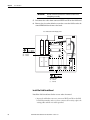
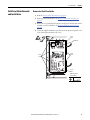
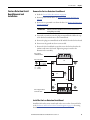
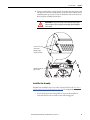
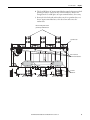
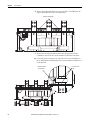
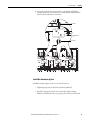
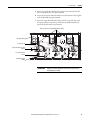
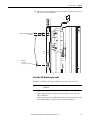
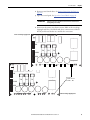
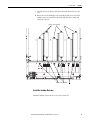
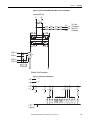
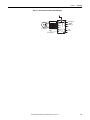
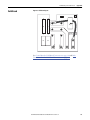
7. Remove the two hexalobular screws that secure the bottom of the fuse
holder to the control pan. Retain the screws for reuse.
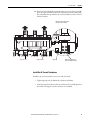
8. Place the tip of a flathead screwdriver in the slot of the two tabs at the base
of the fuse holder and pull down until the tabs pull out from the fuse
holder body. When then fuse holder is loose, remove it from the metal
support flange.
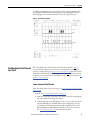
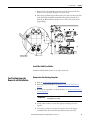
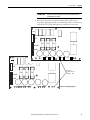
Pull tabs down and
remove fuse block
Remove screws
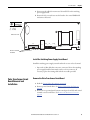
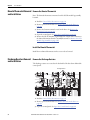
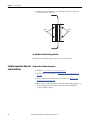
Install the Field Fuse Holder
Install the field fuse holder in the reverse order of removal.
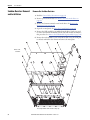
Fan Starting Capacitor
Removal and Installation
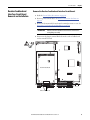
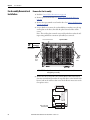
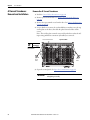
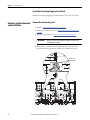
Remove the Fan Starting Capacitor
1. Read the General Safety Precautions on page 10.
2. Remove power from the drive. See Remove Power from the Drive on
page 42.
3. Remove the top terminal cover from the drive. See Remove the Protective
Covers on page 44.
IMPORTANT
Mark all connections and wires before removal to avoid incorrect
wiring during reassembly.
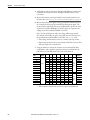
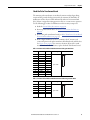
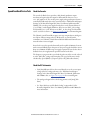
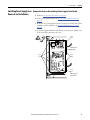
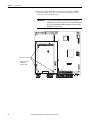
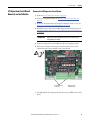
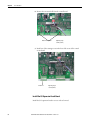
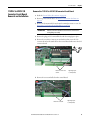
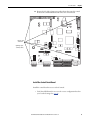
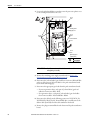
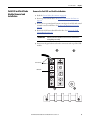
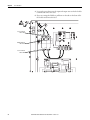
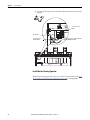
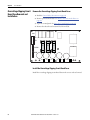
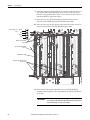
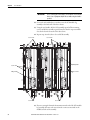
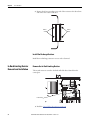
4. Cut the cable ties that secure the fan capacitor and fan power wires
together.
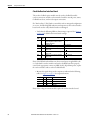
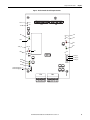
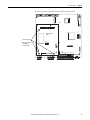
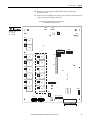
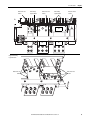
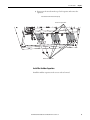
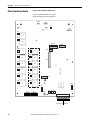
5. Loosen the screws that secure the fan capacitor wires to the plug-in
terminal block at XC on the fan loss board and remove the wires.
Rockwell Automation Publication 20P-TG004A-EN-P - October 2011
73