1
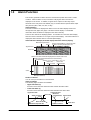
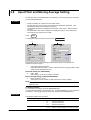
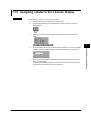
11.5 Setting the Alarm
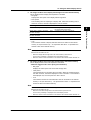
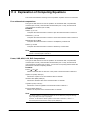
3.
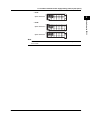
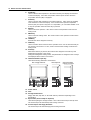
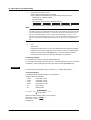
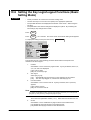
Type
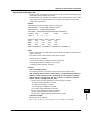
Set the alarm type.
[H]: Upper limit alarm
[L]: Lower limit alarm
[T]: Delay upper limit alarm
[t]: Delay lower limit alarm
Note
If you select delay alarm (T or t) for the alarm type, you must set the alarm delay period. See
section 6.3.
4.
Value
Set the value at which the alarm is activated.
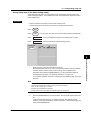
Pressing the [Input] soft key or one of the character/number input keys displays
a window used to enter a numerical value. Enter a value and press the DISP/
ENTER key. For the procedures related to entering numerical values, see
“Entering Numbers” on page 3-21.
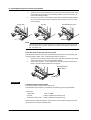
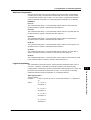
Relay On/Off
Set whether or not to activate the relay output. If [On] is selected, output relay
[Number] is displayed.
Number
Set the output relay number.
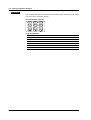
For the correspondence between the output relay number and the output relay
position, see section 2.4.
5.*
6.*
*
If the alarm output relay option (/AR1, /AR2, /A3, /A4, or /A5) is not installed, this setting is
void.
Confirming operation
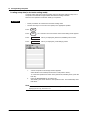
To confirm the new settings, press the DISP/ENTER key.
To cancel the new settings, press the ESC key. A window appears for you to confirm the
cancellation. Select [Yes] using the arrow keys and press the DISP/ENTER key.
Explanation
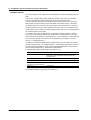
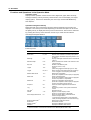
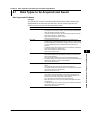
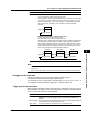
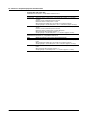
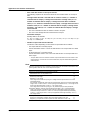
Alarm type
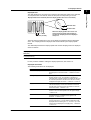
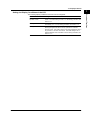
Two types of alarms are available.
11-14
Name
Symbol
Description
Upper limit alarm
H
An alarm occurs when the measured value becomes
greater than or equal to the alarm value.
Lower limit alarm
L
An alarm occurs when the measured value becomes
smaller than or equal to the alarm value.
Delay upper limit alarm
T
An alarm occurs when the measured value remains
above or equal to the alarm value for the specified time
period (delay period, see section 6.3, “Setting the Alarm
Delay Period.”).
Delay lower limit alarm
t
An alarm occurs when the measured value remains
below or equal to the alarm value for the specified time
period (delay period, see section 6.3, “Setting the Alarm
Delay Period.”).
IM 04L02A01-01E