1
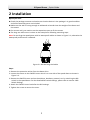
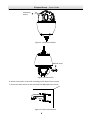
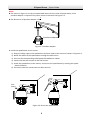
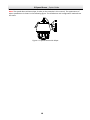
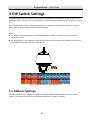
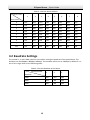
IR Speed Dome·Quick Guide 2 Installation Before you start: Check the package contents and make sure that the device in the package is in good condition and all the assembly parts are included. Make sure the wall is strong enough to withstand at least 8 times the weight of the dome and the mount. For cement wall, you need to use the expansion screw to fix the mount. The long-arm wall mount is taken as the example for following mounting steps. Note: Do not drag the speed dome with its waterproof cables as shown in Figure 2-1, otherwise the waterproof performance is affected. Figure 2-1 Do Not Drag the Cables Steps: 1. Remove the protective sticker from the dome drive. 2. Loosen the screws on the SWITCH cover which is on one side of the speed dome as shown in Figure 2-3. 3. Remove the SWITCH cover and set the address, baudrate, protocol, etc. by switching the DIP switch in the speed dome. For the detailed DIP switch settings, please refer to section 3 DIP Switch Settings. 4. Attach the SWITCH cover back after the DIP settings. 5. Tighten the screws to secure the cover. 7