1
Backing up entire drives
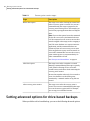
Setting advanced options for drive-based backups
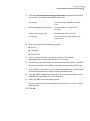
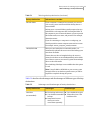
Divide into smaller files to
simplify archiving
You can split the recovery point into smaller files and
specify the maximum size (in MB) for each file.
For example, if you plan to copy a recovery point to ZIP disks
from your backup destination, specify a file size of 100 MB
or less, according to the size of each ZIP disk.
Disable SmartSector Copying SmartSector technology speeds up the copying process by
only copying the hard-disk sectors that contain data.
However, in some cases, you might want to copy all sectors
in their original layout, whether or not they contain data.
This option lets you copy used and unused hard-disk sectors.
This option increases processing time and usually results
in a larger recovery point.
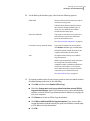
Ignore bad sectors during
copy
This option lets you run a backup even if there are bad
sectors on the hard disk. Although most drives do not have
bad sectors, the potential for problems increases during the
lifetime of the hard disk.
Use password
This option sets a password on the recovery point when it
is created. Passwords can include standard characters, not
extended characters or symbols. (Use characters with an
ASCII value of 128 or lower.)
A user must type this password before restoring a backup
or viewing the contents of the recovery point.
Use AES encryption
You can encrypt your recovery point data to add another
level of protection to your recovery points.
You can choose from the following encryption levels:
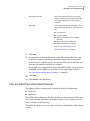
■
Low (8+ character password)
■
Medium (16+ character password)
■
High (32+ character password).
Editing advanced backup options
After you define a backup, you can go back at any time and edit the advanced
options you chose when you first defined the backup.
To edit advanced backup options
1
On the Home or Tasks page, click Run or Manage Backups.
Select the backup you want to edit, and then click Edit Settings.
2
Click Next twice.
3
Click Advanced.
69