1
User’s Manual
Network Setup
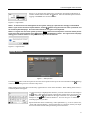
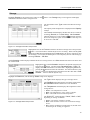
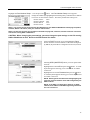
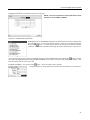
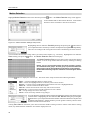
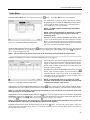
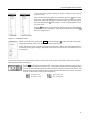
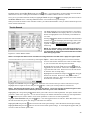
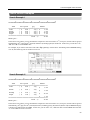
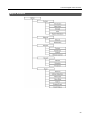
Figure 17 ─ Network menu.
Network
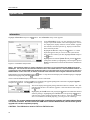
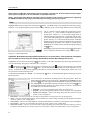
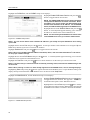
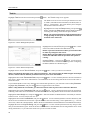
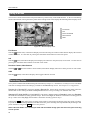
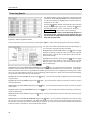
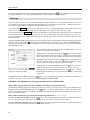
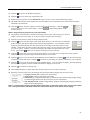
Highlight Network in the Network menu and press the button. The Network setup screen displays. You will be
able to change the Network, LAN, DVRNS and WebGuard settings.
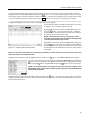
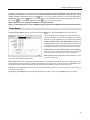
Highlight the first box beside Transfer Speed. Press the
Up and Down arrow buttons to set the Transfer Speed from
50Kbps to 100Mbps.
Highlight the second box beside Transfer Speed. You can
select the unit of measure for the transfer speed between: bps
and ips. Press the button to set the transfer speed.
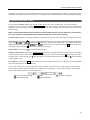
NOTE: The local recording speed might be affected by
various network bandwidth (Transfer Speed) conditions.
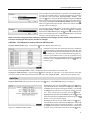
Highlight the box beside Quality and press the button. You
can select the Quality from: Very High, High, Standard and
Low. Press the button to set the Quality.
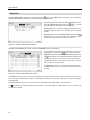
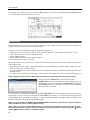
Figure 18 ─ Network setup screen.
NOTE: The higher Quality settings require higher Transfer
Speed settings. The transfer speed you set is the maximum
speed. Depending on the network environment, this speed
may not be achieved.
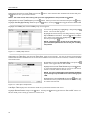
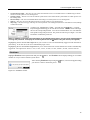
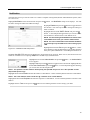
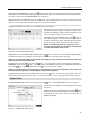
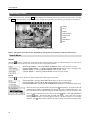
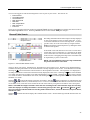
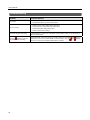
Highlight the LAN tab, and the LAN setup screen displays.
Highlight the box beside Type and press the button. You
can select the type of network configuration from: Manual,
DHCP and ADSL (with PPPoE). Select the desired type
and press the button.
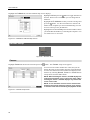
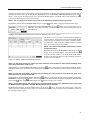
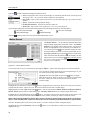
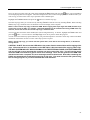
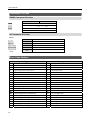
Selecting Manual from the Type allows you to set up LAN
parameters manually.
Change the numbers by highlighting them and using the Up
and Down arrow buttons to increase or decrease the number.
The factory default LAN settings are:
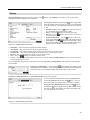
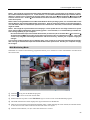
Figure 19 ─ LAN (Manual) setup screen.
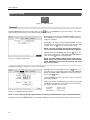
IP Address:
Gateway:
Subnet Mask:
192.168.1.129
192.168.1.254
255.255.255.0
NOTE: You will need to get the appropriate IP Address, Gateway and Subnet Mask from your network administrator.
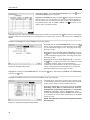
Highlight the box beside DNS Server. Press the Up and Down arrow buttons to set the IP address of the DNS server.
16