1
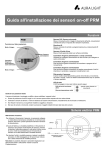
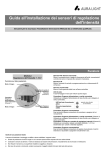
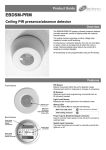
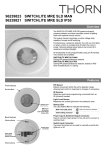
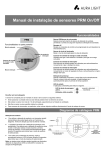
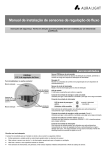
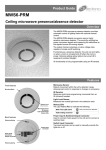
Installation Choosing a suitable location The MWS6SM-PRM is designed to be ceiling mounted and must satisfy the following criteria: The sensor should be sited so that the occupants of the room fall inside the detection pattern overleaf, at a recommended height of 2.8m on the ceiling. Note that the lower the sensor is installed the smaller the detection range will be, subject to the parameters shown on the diagram. Avoid positioning the sensor where direct sunlight may enter the sensor element. Do not site the sensor within 1m of any lighting, forced air heating or ventilation. Do not fix the sensor to an unstable or vibrating surface. Components 2a Rear entry 3 Wire cables into the terminals Mounting plate Pass cable through Mounting plate Sensor Head 4 2b Side entry Pass cable through either of the 2 side entry points in the Mounting Plate Conduit 1 Push the Sensor Head onto the Mounting Plate and align clips with slots on Sensor Head 5 Screw the Mounting plate to the ceiling via the 4 mounting holes. Note: 2 holes are suitable for BESA boxes, 2 are suitable for UK or EU 60mm fixing backboxes. Knock-outs on Sensor Head for clearing side entry of conduit and / or cables Use a flat bladed screwdriver to unclip the Mounting Plate from the Sensor Head Readback function (UNLCDHS handset only) The UNLCDHS has the ability to read back the settings stored in a device. To read back individual parameters Navigate to the parameter and press the ‘R’ (Read) button whilst pointing at the device. The handset will click when the parameter has been read back, the device will flash its LED, and the value will be shown against the parameter in the menu. To read back all of the parameters in a menu Press and hold the ‘R’ (Read) button for more than 1 second. The handset will click every time a parameter is received The device will show multiple flashes of its LED All of the values will be shown against the parameters in the menu. The individual parameters may be edited and then saved as a ‘Macro’. Notes If a parameter(s) has been missed because of a communication error, the missing value(s) is replaced by dashes. When reading back, the Channel 1 relay (where fitted) will temporarily be switched off, and will return to it’s normal state 2 seconds after the read back has been completed. 4