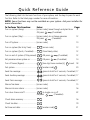
1
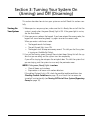
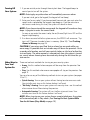
T u r n i n g Y o u r S ys te m O n ( A rm i n g ) a n d O f f ( Di s a rm i n g )
*
0 will only turn on the system. To turn the system off,
NOTE: Pressing
you must enter a valid [access code]. See Turning Off Your System on page
10.
If you want to turn on the system, and no one else will be entering, you can
remove the entry time from zones that normally have one. If somebody enters
through any zone, the system will sound an instant alarm.
1. Check that your system is ready (green Ready light is ON)
2. Press
9
*
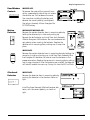
Turing On
Your System
with No Entry
Time
, then your [access code].
• The red (Armed) light flashes as a reminder that the system is on and has
no entry time.
• The keypad sounds fast beeps.
3. The system is now in Stay mode.
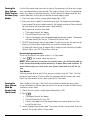
Your installer may have set up your system to turn on at a pre-set time. If automatic arming has been set up, when the system reaches the pre-set autoarm time,
the keypad buzzers will sound for one minute.
During this one-minute warning time, you may be able to stop automatic arming
by entering your [access code]. Ask your installer for more information.
Your installer may have set up the system so that users with a master code can
change the autoarm time at the keypad. If so, master users will be able to turn the
automatic arming function on or off, and program the time at which the system
will automatically turn on each day.
1. Press
*
To turn automatic arming on or off:
6
, then [master code].
2. Press
to turn automatic arming on or off. The keypad will beep 3 times
when auto-arm is turned ON, and once when it is turned OFF.
2
3. When you are finished, press
#
.
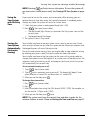
To change the autoarm time:
1. Press
*
Turning On
Your System
Automatically
(Automatic
Arming)
2. Press
3
6
, then [master code].
.
3. Enter the autoarm time using the 24Hr format (0000 - 2359). For example, to
set the time for 1:00pm, enter (1300).
5. When you are finished, press
#
twice.
NOTE: The system must have the correct time and date in order for the
autoarm feature to work. Please seeSetting the Time and Date on page 21.
13